If you’re getting into vaping and are the kind of person who likes to break things down and try to recreate them yourself, you might be wondering if you can make homemade vape juice with stuff you have available in your cupboards.
And for anyone this way inclined, in this post we look at how to make vape juice with household items – as well as explaining why it’s probably not a particularly smart idea to try.
What is commercial vape juice made from?
Before we talk about the likelihood of being able to find anything in your home that might be a suitable ingredient in homemade vape juice, let’s have a look at what the commercial stuff consists of to get an idea of what we’re aiming at.
1. Propylene glycol
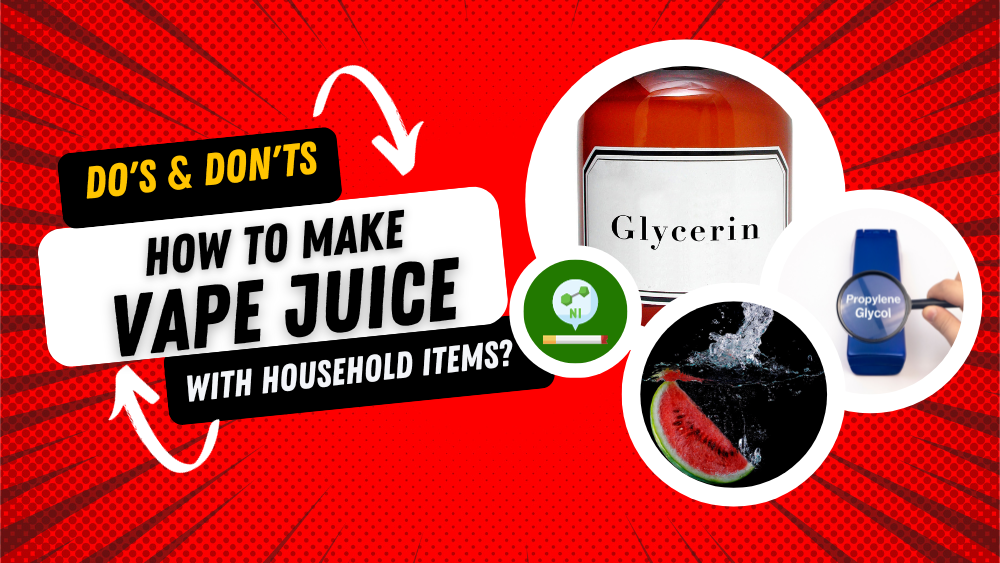
Almost every commercial vape juice made in the world contains two ingredients because, as yet, nothing has been found to replace either of them.
The first of these is propylene glycol (PG), and it is included in vape juice for a couple of reasons.
The first of these is that it readily converts to vapor and then carries any flavorings and nicotine with it into the air, but the second is that it is also responsible for the throat hit, the slight burning sensation in the throat that mimics smoking a tobacco cigarette.
Many people find this sensation to be desirable, especially those who come to vaping from a cigarette-smoking background. The higher the proportion of PG in vape juice, the stronger the throat hit.
2. Vegetable glycerin
The second essential ingredient in commercial vape juice is vegetable glycerin (VG), and this also helps the juice vaporize correctly and carries the flavorings and nicotine much the same as PG.
However, rather than being connected to the throat hit, another reason VG is included is that it produces large clouds of vapor, something that would not be possible with PG alone.
No truly satisfactory substitutes exist for either PG or VG, and this is why both are found in almost all commercial vape juices.
The only variation comes in the ratio in which the two are combined. Juices with higher amounts of PG to VG provide a stronger throat hit with smaller vapor clouds while those with higher proportions of VG give smoother throat hits and larger clouds of vapor.
3. Flavorings
Along with the PG and VG, vape juices contain a range of flavorings that can include all kinds of fruit flavors, more unusual tastes like cookies and cream and even tobacco flavor.
These flavorings have been specially developed so that they vaporize easily and can be carried effectively by the PG and VG in the juice, so it’s hard to reproduce the same effect with things normally found in homes.
4. Nicotine
Since vapes are commonly used as a method to wean people off of tobacco cigarettes, the juices often contain nicotine.
This way, people can enjoy their nicotine hit from a vape while not putting themselves at risk from the many dangerous chemicals found in tobacco smoke.
5. CBD or THC
Nowadays, in places where medical or recreational marijuana has been made legal, vape juices containing CBD and THC are also now becoming more readily available.
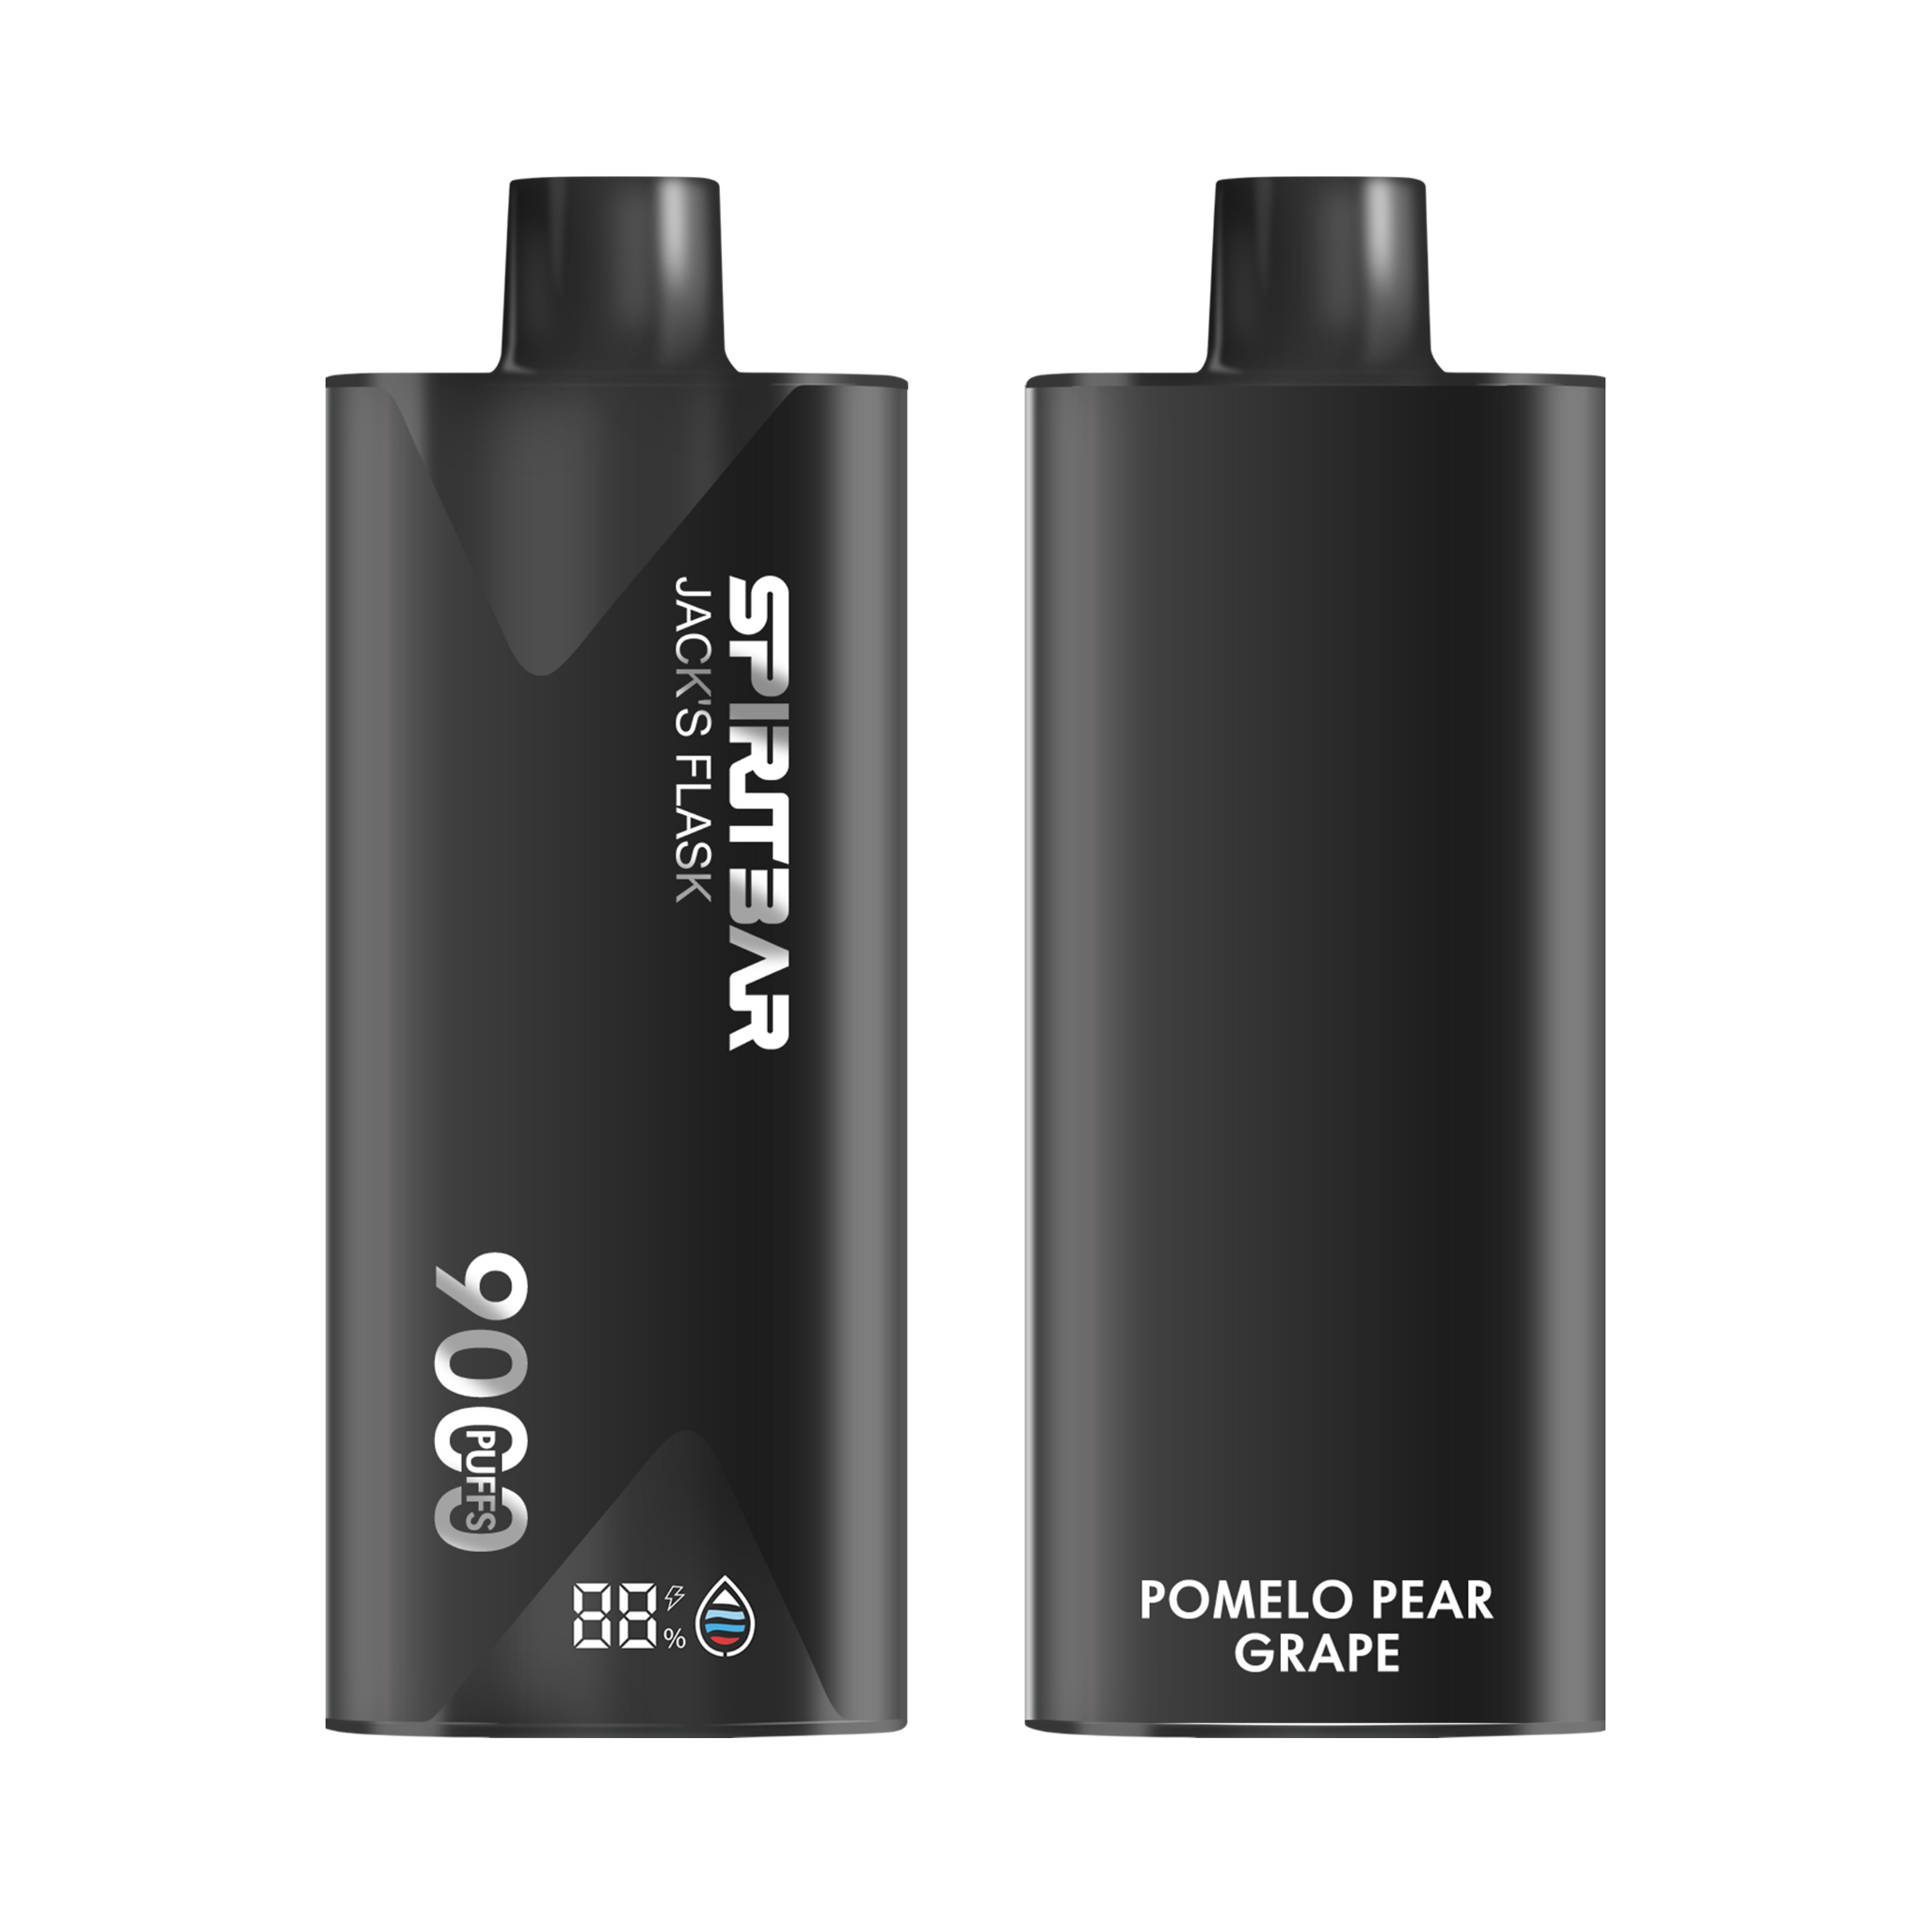
$36 $12.99 (Free Shipping, 2-6 Days Delivery)
- Up to 9000 Puffs
- Stylish pirate flask-shaped metal body
- E-liquid & Power Screen Display
- 2-6 days delivery
Is it a good idea to make homemade vape juice?
So now we know what commercial juices are made of, but before we look at whether anything you have at home could be mixed together to make a suitable alternative, let’s think about why you’d want to do that – and if it’s even a good idea.
If one day you find yourself at home, the stores are closed and you’re desperate for a vape but are all out of juice, you might wonder if there’s anything you can turn to that will satisfy your cravings.
Unfortunately, it’s highly unlikely you’re going to find anything in your home that will fit the bill, so you’ll just have to deal with your cravings in another way.
However, if you’re keen on making homemade juice just for the creative thrill or the pleasure of vaping something you’ve made yourself, there might be some options if you’re willing to buy some ingredients for the project.
This is because while some of the things you might have at home could possibly be incorporated into a DIY vape juice, you’re unlikely to have everything you need – for example, you’re unlikely to have anything to replace PG or VG.
In any case, you’re highly unlikely to be able to make anything better than a commercial vape juice, and you probably won’t save yourself any money – so wouldn’t recommend trying.
Far simpler is to just buy a high-quality disposable vape like the Katana BP 10000 from Spiritbar, a sophisticated vape inspired by the revered Japanese katana sword.
These vapes provide users with up to 10,000 puffs before they need replacing, representing the perfect combination of style, comfort, affordability and convenience.
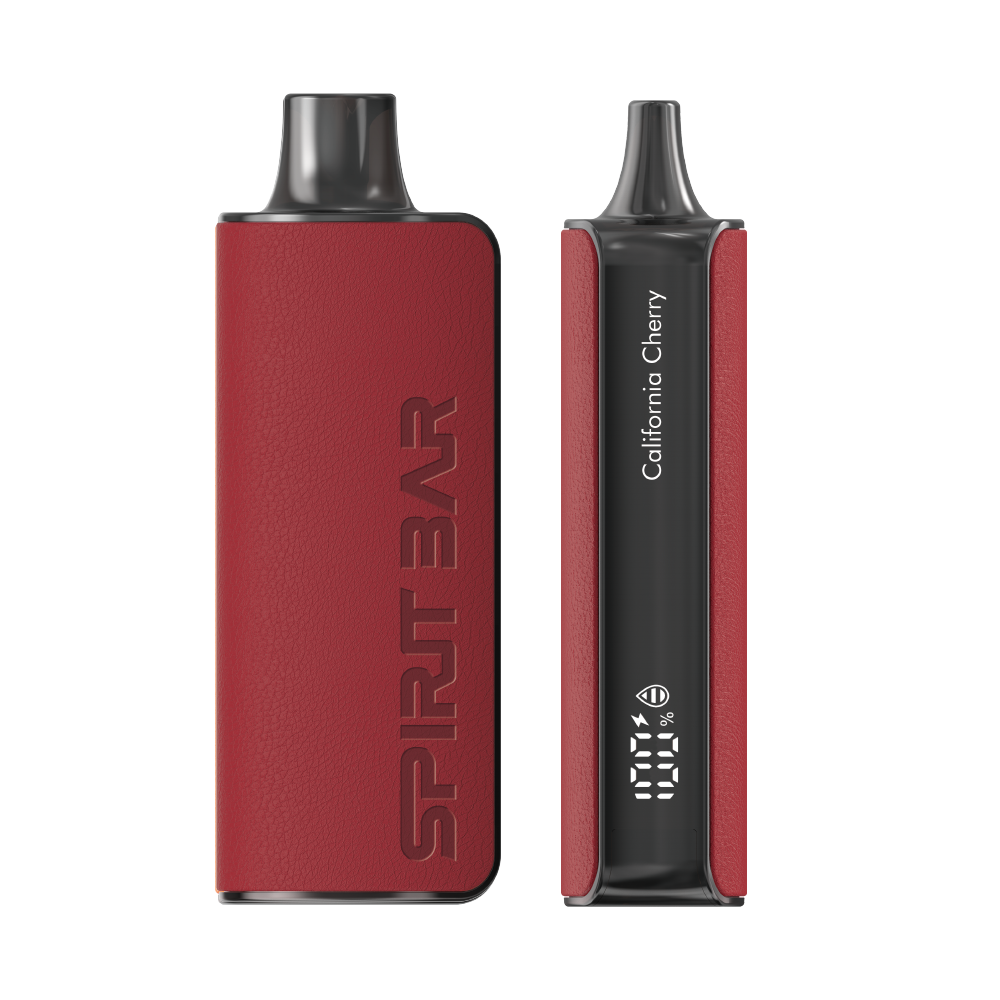
$36 $12.99 (Free Shipping, 2-6 Days Delivery)
- Mesh Coil
- Up to 10000 Puffs
- E-liquid & Power Screen Display
- 2-6 days delivery
Is there anything you might have at home you can use instead?
If, despite our misgivings, you decide to try to make your own vape juice anyway, what could you possibly use as ingredients? Here are a couple of options that some people might consider – although bear in mind, we don’t recommend trying any of them.
1. Household glycerin
You won’t have anything that can replace PG at home, but if you have household glycerin, this could possibly be used in place of VG.
Furthermore, while a vape with no VG just wouldn’t work, a vape with only VG and no PG would possibly be ok – although there would be practically no throat hit and most vapers would find the experience entirely unsatisfying.
This means you could conceivably make a vape juice based on household glycerin that would vaporize correctly, carry whatever flavorings and other ingredients with it and produce a vapor cloud.
The problem with this is that household glycerin is designed for cosmetic use and usually comes with a warning against consuming it. So suffice to say that this is not something most people would feel comfortable vaporizing and inhaling into their lungs.
2. Essential oils
Some people might also consider using essential oils in their DIY juice in place of flavorings.
However, while this might technically be possible, and it might even work to give your juice some kind of flavor, it’s not really ideal since the kind of essential oils you’re likely to have at home aren’t designed for vaping and may harm you if you use them for this purpose.
3. Terpenes
Marijuana aficionados will be most familiar with terpenes as the deliciously aromatic compounds found in weed that give it that unmistakable fragrance.
Most other plants also contain terpenes, and they are also used to perfume some oils.
However, just as with essential oils, you’re probably best thinking twice about including terpene oils in DIY vape juice since this is not the use they are intended for.
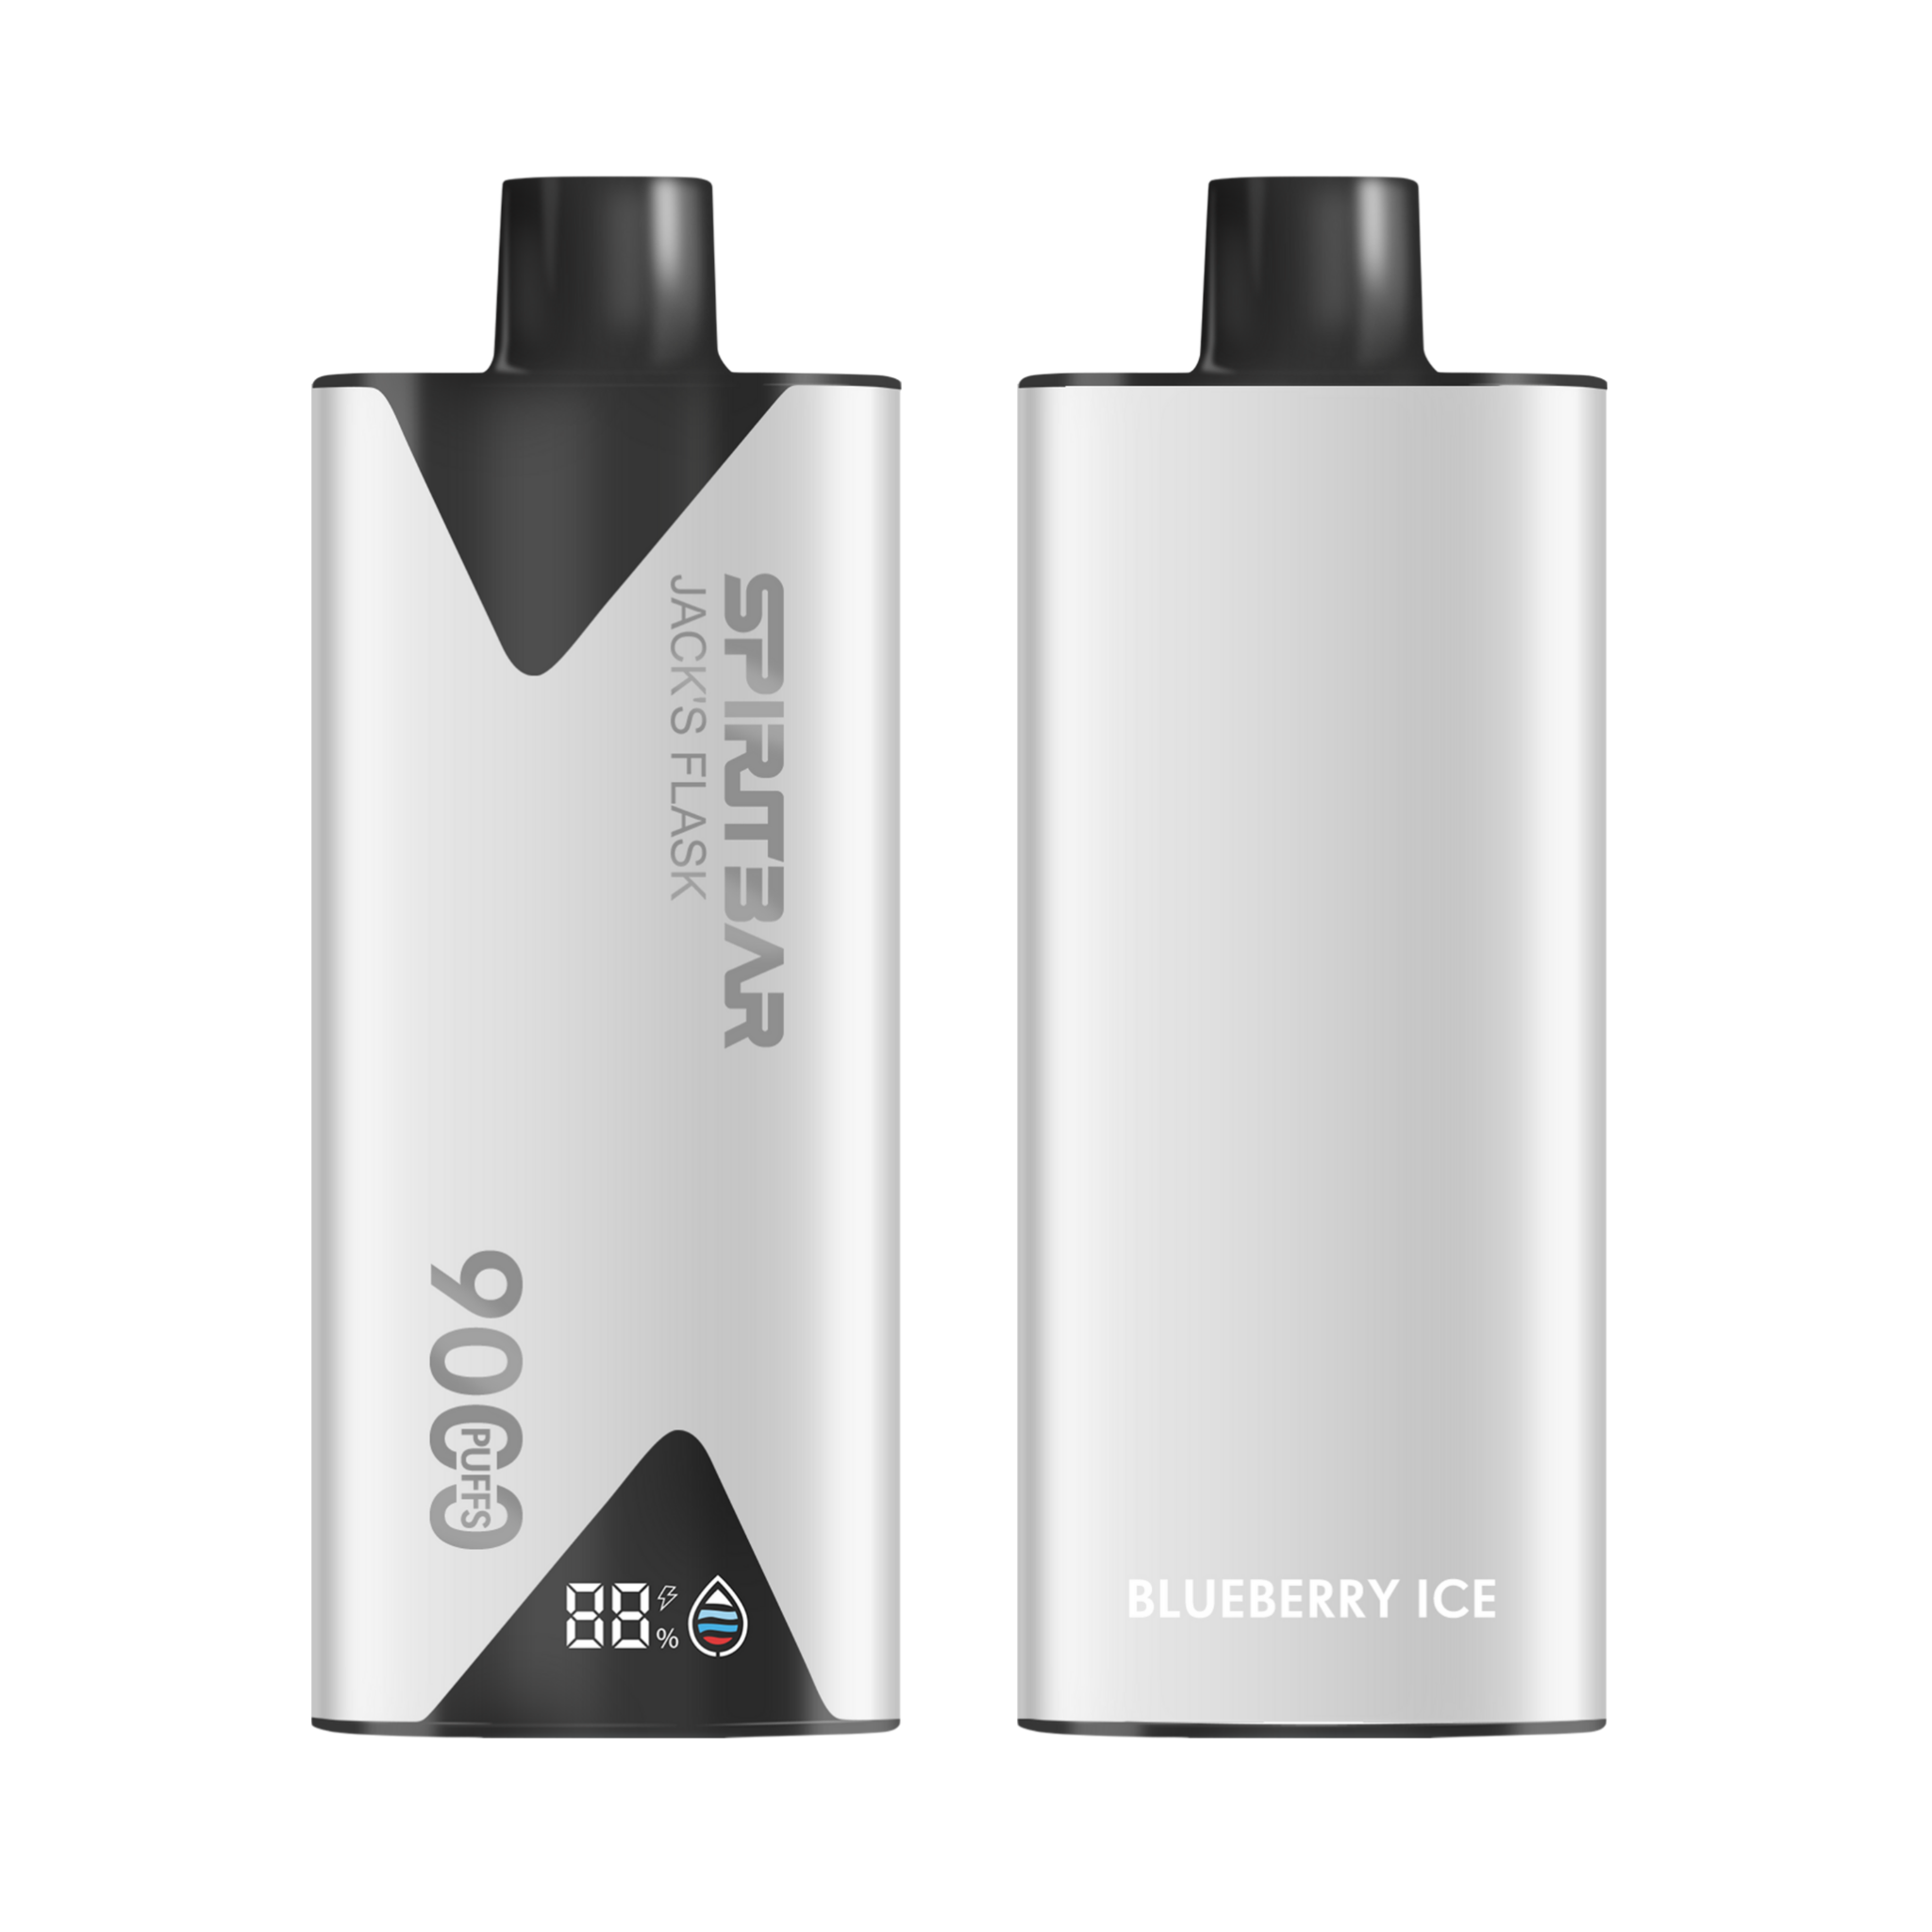
$36 $12.99 (Free Shipping, 2-6 Days Delivery)
- Up to 9000 Puffs
- Stylish pirate flask-shaped metal body
- E-liquid & Power Screen Display
- 2-6 days delivery
What should you definitely avoid vaping?
Other than these items and a few other similar options you might possibly think about using, there are some basic household items you should absolutely avoid – so let’s look at these now to make sure you don’t have any accidents.
1. Water
They might be called vapes, but that’s a bit of a misnomer because they don’t produce vapor – the clouds these devices produce actually consist of aerosols.
However, if you replace vape juice with water, you won’t be producing aerosols – instead, you’ll be producing hot steam.
It doesn’t take a genius to realize this is not something you don’t want to be breathing into your lungs if you want to avoid extreme pain and a trip to the hospital, so don’t put water in your vape.
2. Fruit juice
It might be nice to drink, but fruit juice will also vaporize into steam and injure you, just like water. The sticky sugar will also potentially damage your vape, so that’s a second reason not to consider trying to vape it.
3. Cooking oil
Vegetable glycerin might sound a bit like vegetable oil, but that doesn’t mean you can use sunflower oil or peanut oil in your vape instead. It just won’t work, so don’t even think about it.
4. Alcohol
For anyone who thinks putting alcohol in their vape and trying to ingest it that way might be fun way to get a buzz, you can park this idea right now. This is dangerous on a whole range of levels and is not even worth considering.
If you have some alcohol and want to get drunk, just drink it. But don’t think about putting it anywhere near your vape or trying to inhale it into your lungs.

$36 $12.99 (Free Shipping, 2-6 Days Delivery)
- Up to 10000 Puffs
- E-liquid & Power Screen Display
- Mesh Coil
- 2-6 days delivery
Very unlikely you’ll find anything at home to make vape juice from
As we’ve seen, while it’s possible to make homemade vape juice if you buy the right – preferably high-quality – ingredients, you won’t be able to make anything resembling vape juice just using stuff you have at home.
If you want to get creative, you can invest in some proper PG and VG and take it from there –while always making safety your priority. However, our advice is just to choose a commercially produced vape juice or disposable vape and enjoy the myriad flavors that already exist.