If you want to stop smoking (cigarettes), vaping is a useful pathway. You can still sate your oral fixation but you won’t have to worry about tar and other carcinogens. Plus, vapor has no tobacco stench – even when you vape traditional flavors. But e-liquids can get expensive over time, so it helps if you know how to make vape juice. Let’s look at a few common tactics.
Why You Should Make Your Own Vape Juice
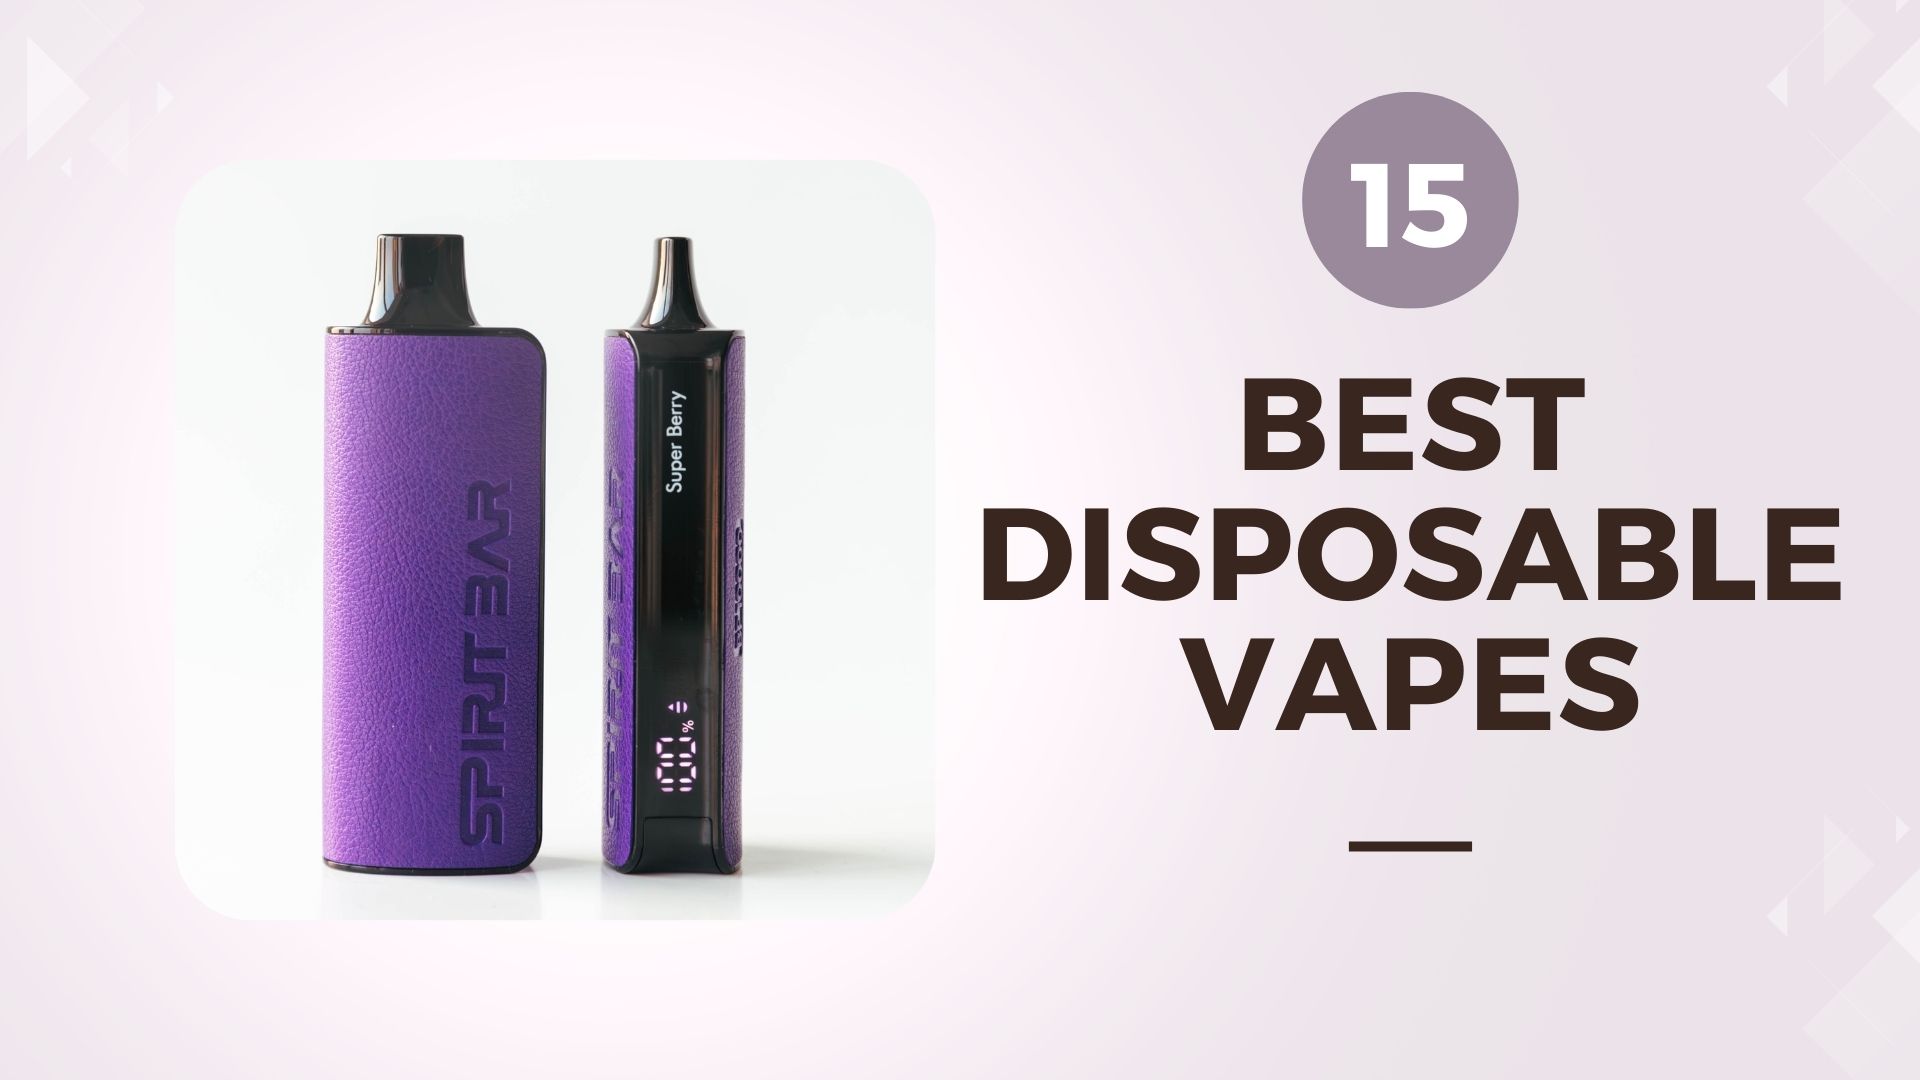
The simplest vaping option is to buy a disposable with preloaded e-juice. Lots of flavors are available, so you could go with basic options like coffee, tobacco, and mint. Or you could be more adventurous with blood-boosting cocktails like Super Berry. It has a healthy mix of all those anti-oxidant go-to’s so it’s delightfully saccharine. And you can buy it with 5% potency.
But if you prefer to play with vape components, you can experiment with the ingredients and ratios. The advantage of making your own vape juice goes beyond flavor palates. It lets you control the strength of your nicotine, the size of your vape clouds, and your engagement with coils, wicks, and other paraphernalia. Let’s go through the steps of how to make vape juice.
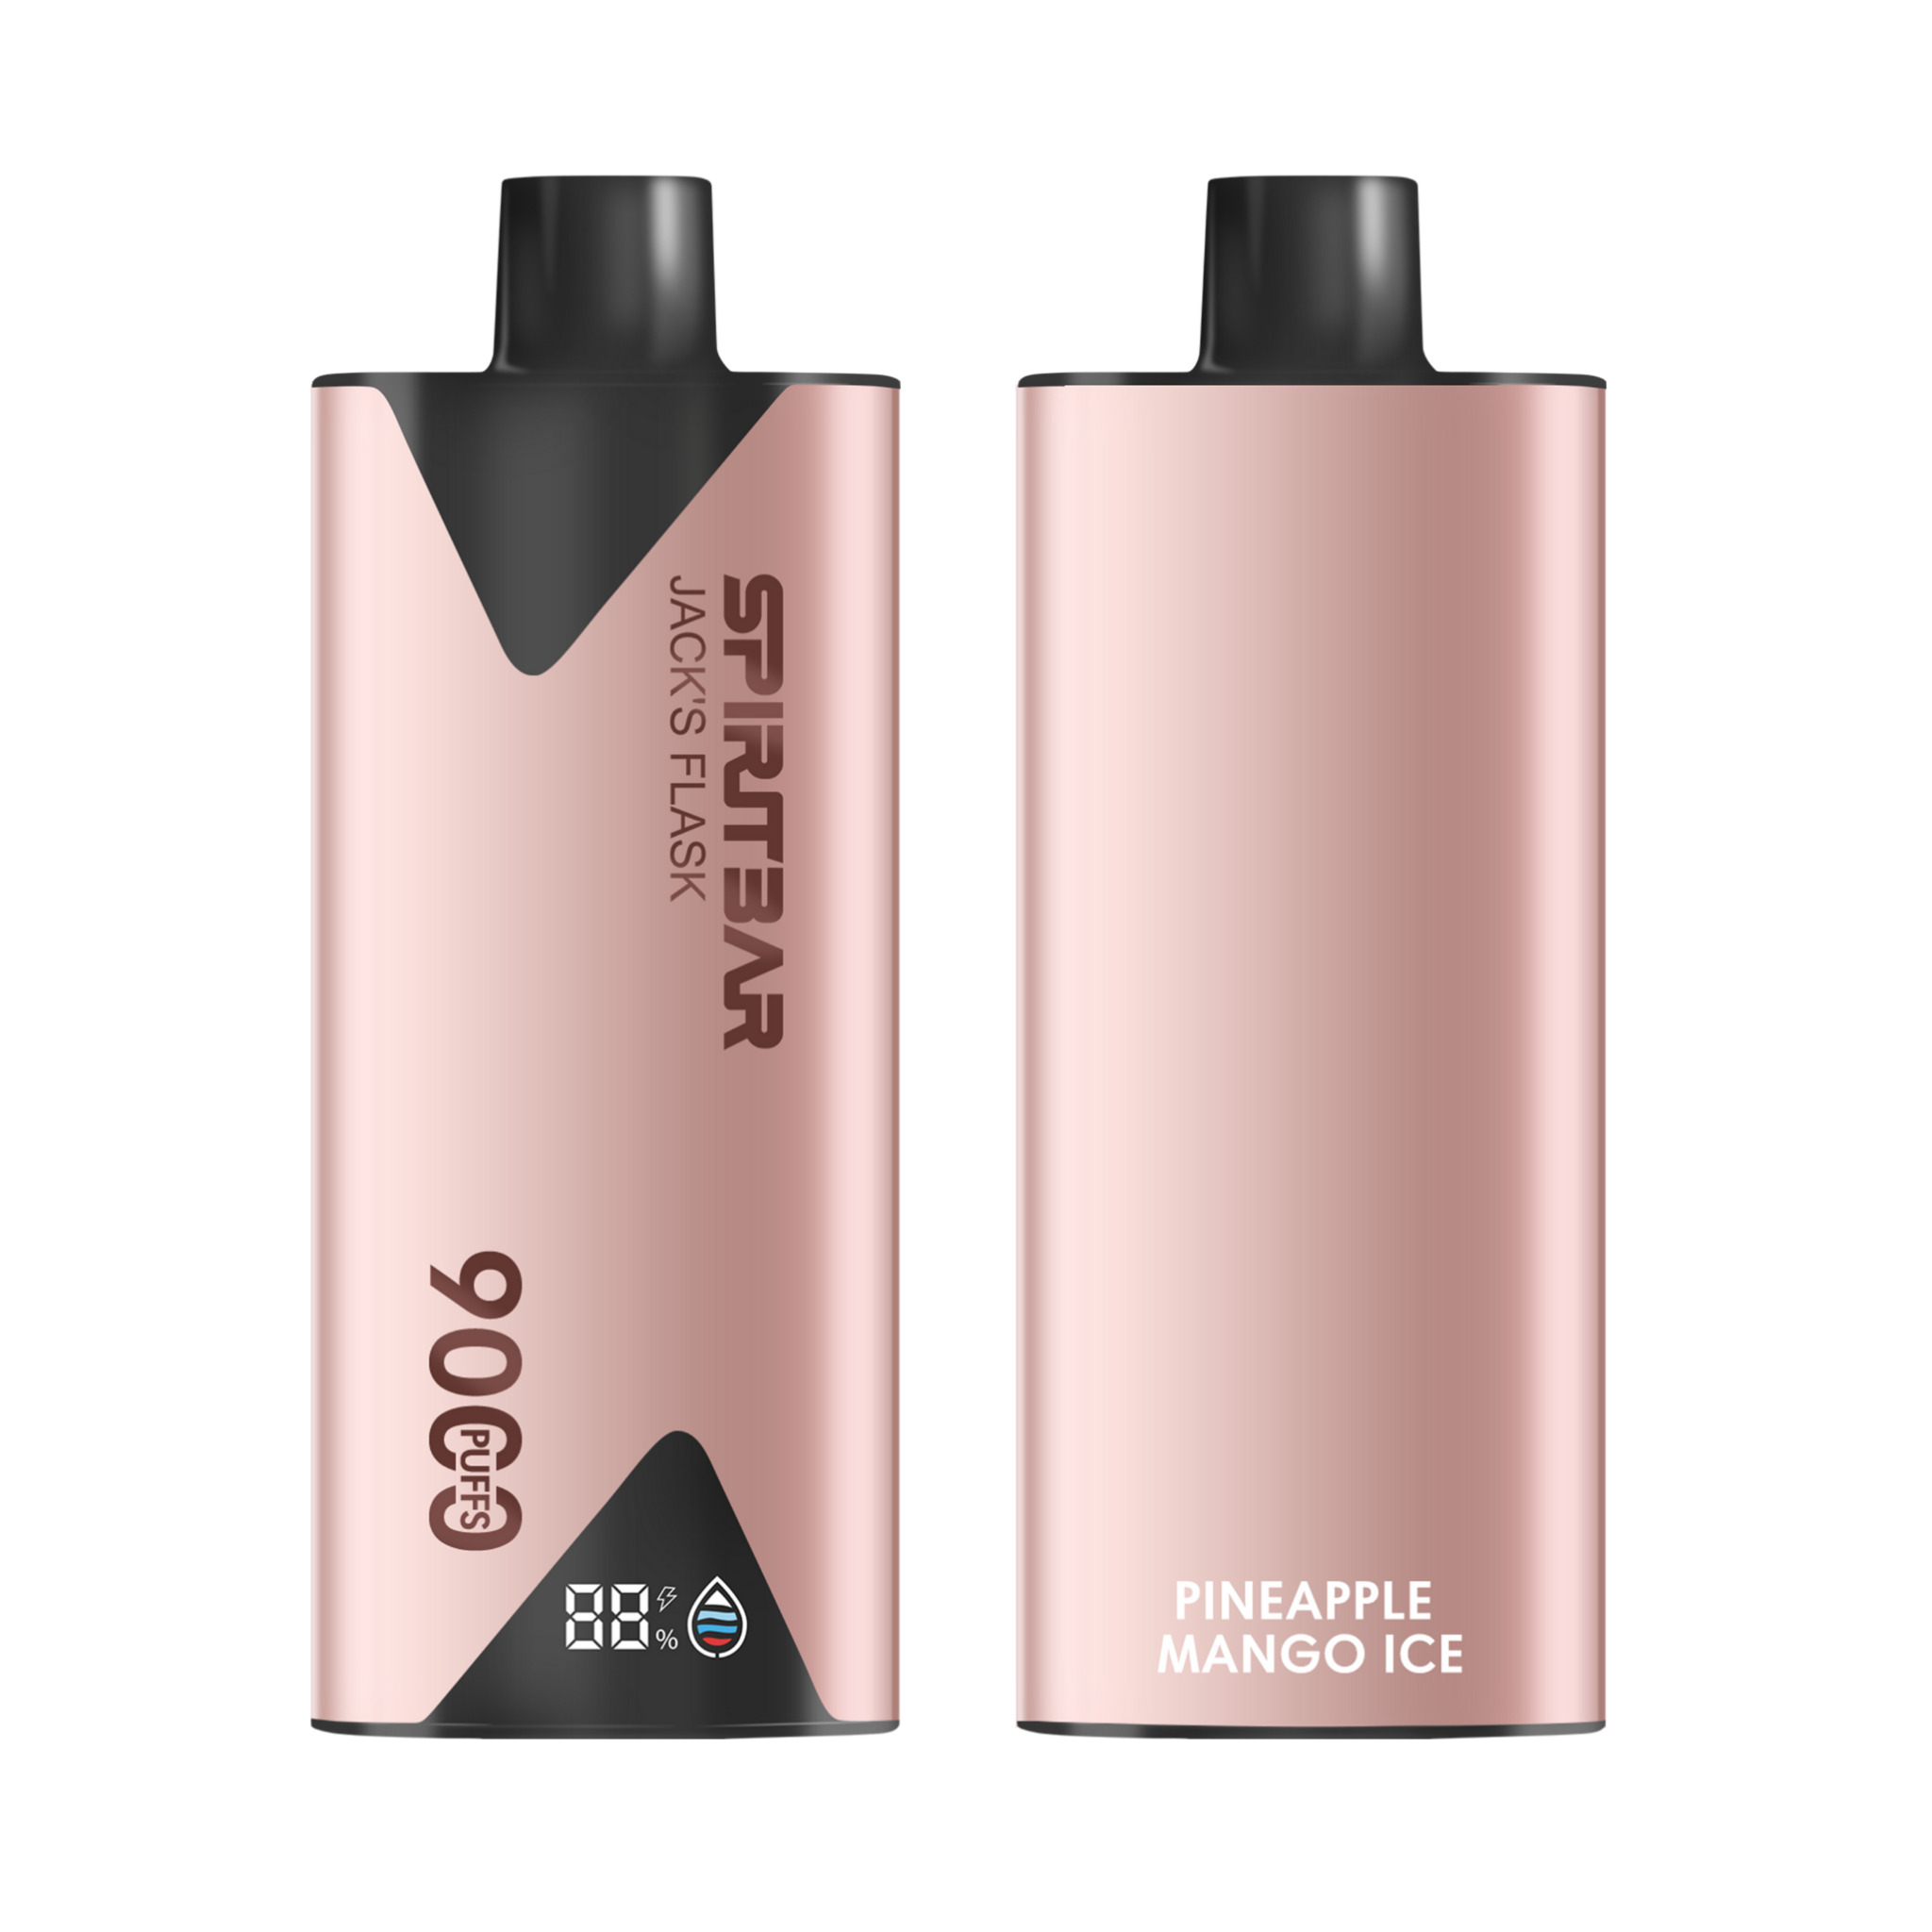
$36 $12.99 (Free Shipping, 2-6 Days Delivery)
- Up to 9000 Puffs
- Stylish pirate flask-shaped metal body
- E-liquid & Power Screen Display
- 2-6 days delivery
How to Make Vape Juice at Home? (Step by Step Guides)
Step 1: Consider Your Location
In some places, you can get e-juice with nicotine strengths of up to 5% or 50mg per ml. Other places have a limit of 2% or 20mg/ml. Vape bans also restrict certain flavors based on your locality so you might not find the ingredients to mix what you want. Bans sometimes extend to nicotine. So legally, you can only buy a 10ml nicotine booster bottle in the restricted areas.
This may apply to imports as well, so read the regulations before you order anything. You don’t want to get a bulk shipment of oils and flavors only to have them stopped at customs and returned to sender. It can also be helpful to find a quiet, well-lit, secluded spot to work on your brews. The neighbors might get worried if they suspect you’re ‘cooking illicit drugs’.
Step 2: Get the Basic Equipment
You don’t need a full lab setup to make vape juice. But you can grab some basics from any beauty store or pharmacy. You’ll need disposable gloves, measuring containers, product bottles of various sizes (the 5ml to 100ml range is ideal), and something to drip your fluids, so a 14-gauge syringe, pipette, turkey baster, or tit dropper will do. Also, buy assorted labels.
Some people do their recipes in milliliters while others prefer milligrams so it can be useful to get a digital scale and/or a set of measuring spoons. Some have their capacities listed in multiple units e.g. a vial might mention milliliters, teaspoons, and ounces, all on the same equipment. They’re really useful for making on-the-spot conversions, so get them if you can.
$36 $12.99 (Free Shipping, 2-6 Days Delivery)
- Up to 10000 Puffs
- E-liquid & Power Screen Display
- Mesh Coil
- 2-6 days delivery
Step 3: Look for Supplies
Vape juice has four main ingredients. VG or vegetable glycerine produces the clouds. PG or propylene glycol is the main carrier for vape-specific flavor concentrates and nicotine – the final components. These are all in liquid form, and you’ll be working with powder-free gloves to avoid getting unwanted particles in the mix. You’ll also need heavy paper towels for spills.
Buy the ingredients at any vape store. Many allow you to order online. Nicotine comes as salt nicotine or freebase infused with PG. It’s often a 50/50 mix, and the type you buy depends on your preference. Nicotine salts are smoother so they’re good for smaller doses. Freebase nicotine gives a harsher throat hit that’s similar to cigarette smoke, especially in high doses.
Step 4: Think About Your Preference
The most common ratio for vape juice is half PG and half VG. You’ll see it listed as 50/50 or 50:50. But if you’re more interested in thick clouds and you don’t need any nicotine, you can make your juice from pure VG without any PG. And if you prefer a smooth throat hit, use at least 60% VG. At the other extreme, higher PG volumes offer a more intense nicotine buzz.
VG is thicker than PG, so the more VG your juice has, the heavier your wick will need to be. A thin wick won’t soak up the VG efficiently. You should also brew e-liquid that suits your vape mod. Thicker wicks go well with mesh coils that can support dense VG. But if your e-juice is too heavy on the PG, the thin fluid could leak into the mechanical parts of your vaping mod.
Step 5: Try Different Flavours and Vape Calculators
You can find lots of free vape calculators online. You plug in the amount of e-juice you want to make and the calculator recommends how much VG, PG, flavor, and/or nicotine your batch needs. The calculator also guides you based on the nicotine strength or concentration you’re using. In terms of flavor mixes, a bit of Googling can be helpful. What works well?
Skim recipes to see which flavors pair cohesively, taking a cocktail approach to things. Also, look up common vape flavors to get your ideas flowing, especially e-liquids with multiple fragrances in their mix. Remember that creamy options like custard, coffee, sweets, and even tobacco are good for high-temp vaping while mints and menthols are better for lower temps.
$36 $12.99 (Free Shipping, 2-6 Days Delivery)
- Up to 9000 Puffs
- Stylish pirate flask-shaped metal body
- E-liquid & Power Screen Display
- 2-6 days delivery
Step 6: Build from the Base
The PG and VG combine to form your base mixture. For sub-ohming (i.e. vape mods with a coil resistance below 1 ohm), you can go with pure VG and a thick wick. But most of the time, you’ll mix PG and VG. Blend thoroughly so they can fully mingle their different densities. Once you’ve done the base, add the flavor first, then finish off with your nicotine solution.
Be especially careful when you’re working with nicotine because it can leach into your skin and reach your bloodstream quite fast. In that concentrated form, you’re likely to experience nicotine sickness. This can make you light-headed, cause nausea, or affect your breathing. It can also raise your heart rate, make your mouth water, lead to tremors, or trigger headaches.
Step 7: Don’t Do a Taste Test
Of course, you should never put nicotine on your tongue. But you might be tempted to lick those other fluids to sample the flavor. PG has no intrinsic flavor and VG is slightly sugary, but the other flavors respond more to your nose than your tongue. And they’re designed to produce fumes when heated. You can’t accurately gauge their flavors with your taste buds.
You’ll just have to trust your measurements and do them carefully. You want to keep flavor proportions between 5% and 20% by volume compared to your total e-liquid. You can always drop a little onto a wick or spoon and heat it up to get an idea of the scent palate. It’s a fairly safe experiment since the aerosols from vape juice will diffuse into the air within minutes.
Step 8: Work With Two or Three at a Time
If you’ve ever been in a perfume or candy store, you know how quickly your nose can get overwhelmed. Soon, everything starts to smell the same. So when you’re making e-liquid, only use a few flavors per session. You could decide to focus on sweets one day, sours another day, and tangy tones for the third session. Or use contrasting concentrates together.
For nicotine, store it in dark glass and check that your solution is still usable. Over time, it degrades, oxidizes, and loses freshness, making your e-liquid unpleasantly sharp. It can also develop a tint and peppery palate as it ages. You need to balance that out with your chosen flavor. This is where portioning is crucial. Account for the built-in PG ratio as you blend.

$36 $12.99 (Free Shipping, 2-6 Days Delivery)
- Up to 10000 Puffs
- E-liquid & Power Screen Display
- Mesh Coil
- 2-6 days delivery
Step 9: Let the Flavour Set
Vape juice isn’t ready-to-use as soon as it’s mixed. If you really want to enjoy it, you should wait about a week before you load it into your vape. The minimum time for the fluids to fully mix is 4 to 5 days, and the flavors mingle best if the bottles can breathe. Use larger bottles and don’t fill them to the top. Alternatively, steep them without their lids in a chilly cabinet.
You’ll have to choose the spot carefully to ensure dust and moisture don’t get into the vape juice. Once the fluids and their particulates fully mix, you can transfer the vape juice into smaller dose-sized bottles for long-term storage. When you’re ready to vape, load the wick and let it sit for roughly thirty minutes. Prime it with a few shallow inhales to draw the juice.
Tips for Making Vape Juice
For vapers that want a harsh cigarette-like experience with an intense buzz and a strong throat tickle, use more PG in your e-liquid. But if you want a smoother inhale with big clouds then more VG heightens your sub-ohm sensation. Especially paired with low-resistance coils.
Write your recipes while you work, paying particular attention to PG/VG ratios, the amount of each flavor concentrate, and the date. Remember that the nicotine solution may already have PG in it, so calculate correctly. Store vape juice in airtight bottles out of direct sunlight.

$36 $12.99 (Free Shipping, 2-6 Days Delivery)
- Up to 10000 Puffs
- E-liquid & Power Screen Display
- Mesh Coil
- 2-6 days delivery
FAQs About Making Vape Juice
Can I Use Water, Vodka, or Essential Oil in Vape Juice?
No. If you want a thinner e-juice, you can use more PG or buy Aqueous VG that’s pre-mixed with distilled water. Otherwise, manually adding water or vodka could ruin your vape juice. On the other hand, if you want water-based e-liquids, buy a commercial option like Innokin which is formulated with a 30% water infusion. Never add water or essential oil to e-liquids.