Understanding the Vape Tank Refilling Process
Detaching and Preparing the Tank
Before you can refill your vape tank, it’s essential to properly detach and prepare it. Start by powering off your device to ensure safety. If you’re using a Spiritbar disposable vape, remember that not all devices are designed to be refilled; check the manufacturer’s instructions first. Next, carefully unscrew the tank from the battery base and set the battery aside.
- Remove the mouthpiece by twisting it counterclockwise.
- Pour out any remaining e-liquid from the tank.
- Disassemble the tank components, including the coil if it’s removable.
Ensure all parts are free of e-liquid before proceeding to clean or refill. This prevents any potential mess and prepares your tank for a fresh batch of e-liquid.
Locating Fill Ports and Adding E-Liquid
Once you’ve detached your vape tank, the next step is to locate the fill ports. These are typically found at the top or bottom of the tank, depending on its design. Carefully open the fill port to prepare for the addition of e-liquid. Remember, patience is key here to avoid spills and ensure a clean refill.
Gently position the nozzle of your e-liquid bottle over the filling port and squeeze to dispense the liquid. It’s important to go slowly to prevent overfilling and potential leakage. If your tank’s design allows, try filling at an angle to avoid the centre air channel, which can lead to gurgling and spitting if e-liquid gets inside.
After adding the e-liquid, close the tank securely and wait a few minutes for the liquid to saturate the coil. This is essential for a smooth vaping experience and to prevent dry hits.
Finally, reattach the tank to your device, adjust the airflow if necessary, and enjoy your vape. Always follow the manufacturer’s instructions for any specific details regarding your device.
Priming the Coil and Reassembling
Once you’ve located the fill ports and added your chosen e-liquid, the next crucial step is to prime the coil. This involves saturating the coil’s wick with e-liquid to prevent dry hits and extend the coil’s lifespan. Begin by applying 8-10 drops of e-liquid directly onto the coil’s exposed cotton areas. Allow the coil to sit for 10-15 minutes to ensure full saturation.
After priming, it’s time to reassemble your vape tank. Screw the tank together slowly to ensure that the components don’t become cross-threaded. If the tank’s base doesn’t attach smoothly and easily, don’t force it; this could damage the threads and cause leaks. Instead, gently realign and try again.
By allowing time for the e-liquid to deeply penetrate the cotton, you’re setting the stage for optimal flavor and vapor production from the very first puff.
Finally, before you start vaping, check that everything is secure and there are no signs of leakage. Here’s a quick checklist to ensure you’re ready to go:
- Coil is fully saturated with e-liquid
- Tank is reassembled without cross-threading
- No leakage is present
- Device is set to the recommended wattage
Remember, a well-primed coil is essential for a satisfying vaping experience and the longevity of your vape hardware.
Troubleshooting Common Vape Tank Issues
Identifying Causes of Leakage
Experiencing leakage in your vape tank can be frustrating, but identifying the root cause is the first step to resolving the issue. Check your O-rings for any signs of damage; these small rubber bands ensure a tight seal and are often the culprits behind leaks. Overfilling your tank or using e-liquids that are too thin can also lead to leakage, as can incorrect airflow settings or temperature fluctuations.
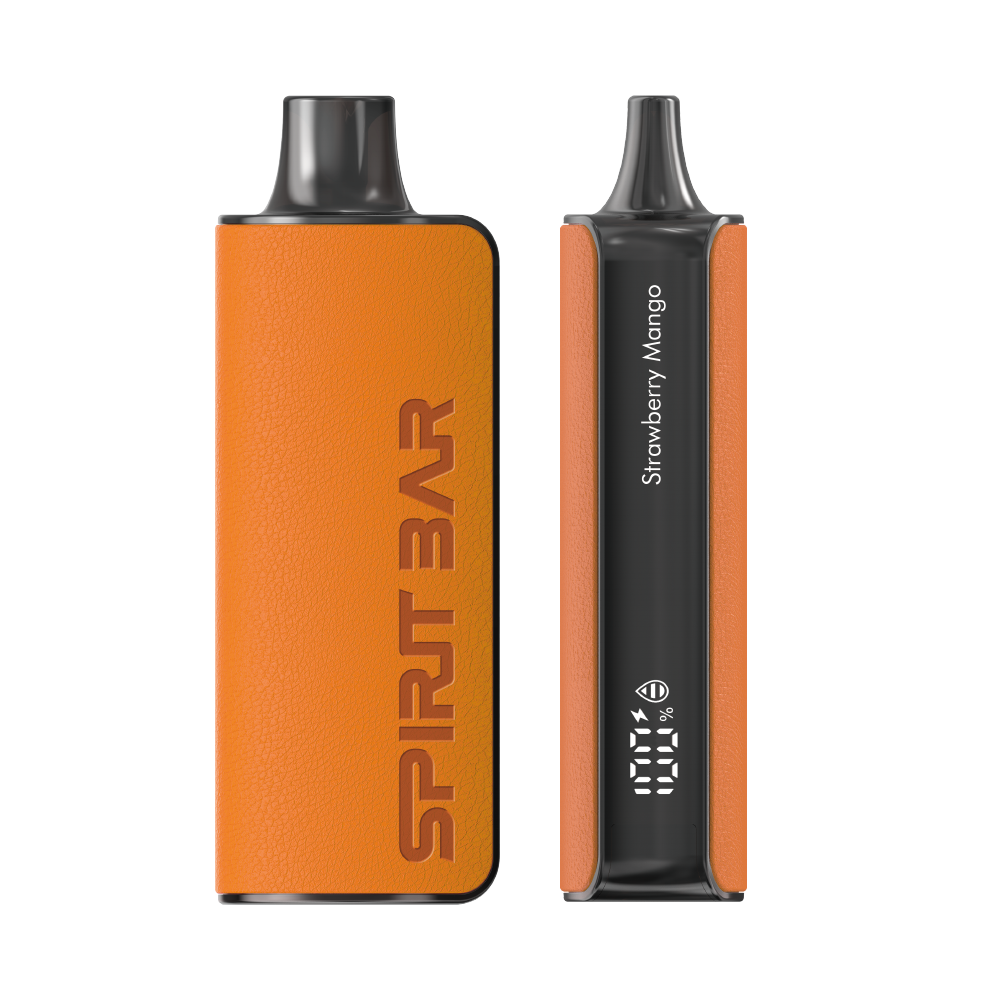
$36 $12.99 (Free Shipping, 2-6 Days Delivery)
- Slender, leather-textured body reminiscent of a katana handle for an authentic samurai feel
- Unique samurai-inspired e-liquid flavor - fruity yet not too sweet, with a luxurious, elegant aroma
- Large 18ml e-liquid capacity and 10,000 puff capacity
- Advanced mesh coil and e-liquid & power display screens for optimal vaping experience
Improper assembly is another common cause. If you’ve disassembled your tank and find no damaged components, it’s possible that the tank wasn’t put back together correctly. Ensure that all parts are snugly fitted without being over-tightened. Here’s a quick checklist to help you troubleshoot:
- Inspect O-rings and replace if necessary
- Avoid overfilling the tank
- Use e-liquids with appropriate viscosity
- Check and adjust airflow settings
- Monitor for temperature changes that could affect the tank
Remember, regular maintenance is key to preventing leaks. Keep your vape tank clean and be mindful of how you assemble and fill it. If you’re facing persistent issues, it might be time to replace the coil or seek professional help.
Preventing E-Liquid Overflow and Airflow Problems
To ensure a smooth vaping experience, it’s crucial to prevent e-liquid overflow and airflow issues. Avoid overfilling your tank; this not only causes leakage but can also lead to gurgling and spitting during use. When refilling, watch the max fill line closely and stop before reaching it.
Maintaining clear airflow is essential for optimal performance. Over time, residues can clog the airflow holes, leading to restricted vapor flow. Regularly clean these areas with a cotton swab or toothpick to remove any buildup. Additionally, be mindful of your device’s orientation; keeping your vape upright minimizes the risk of leakage.
Employ Thicker E-liquid if you find your device prone to leaking. Thicker liquids are less likely to seep through small gaps or flood the atomizer. Here’s a simple checklist to help you manage these common issues:
- Check and clean airflow holes regularly
- Refill the tank cautiously, avoiding the max fill line
- Use e-liquids with higher viscosity for better control
- Keep your vape device upright when not in use
Remember, a well-maintained vape not only performs better but also lasts longer. Take the time to address these small details, and you’ll enjoy a more consistent and satisfying vaping experience.
Ensuring Proper Coil Function and Tank Maintenance
To ensure your vaping experience remains top-notch, regular coil maintenance is crucial. It’s not just about the quality of your e-liquid; the coil’s condition plays a pivotal role in flavor preservation. Start by disassembling your tank and removing the coil. Use a gentle solvent to clean off any residue, which will extend the coil’s life and maintain the e-liquid’s flavor integrity.
Maintaining your coil’s condition is essential for preserving the intricate balance of flavors in your e-liquid.
Here are some quick tips for coil maintenance:
- Regularly check for darkening wick tips or residue buildup
- Be mindful of more frequent dry hits as they suggest inadequate wicking
- Notice any decrease in flavor intensity as a sign to replace the coil
Remember to prime new coils thoroughly before use and keep the e-liquid level above the minimum mark to prevent the coil from overheating. If you’ve cleaned your coil instead of replacing it, ensure you blow air through the open side to push water through the wicking holes. Lastly, adjust your mod settings to suit your vaping style and preserve the flavor.
Cleaning Your Vape Tank: Quick Method
Disassembling and Emptying the Tank
Once you’ve decided to give your vape tank a clean, start by safely dismantling your device. Carefully pour out any remaining e-liquid to avoid any mess. Next, proceed to disassemble the tank and remove the coil, which is a crucial step in the cleaning process.
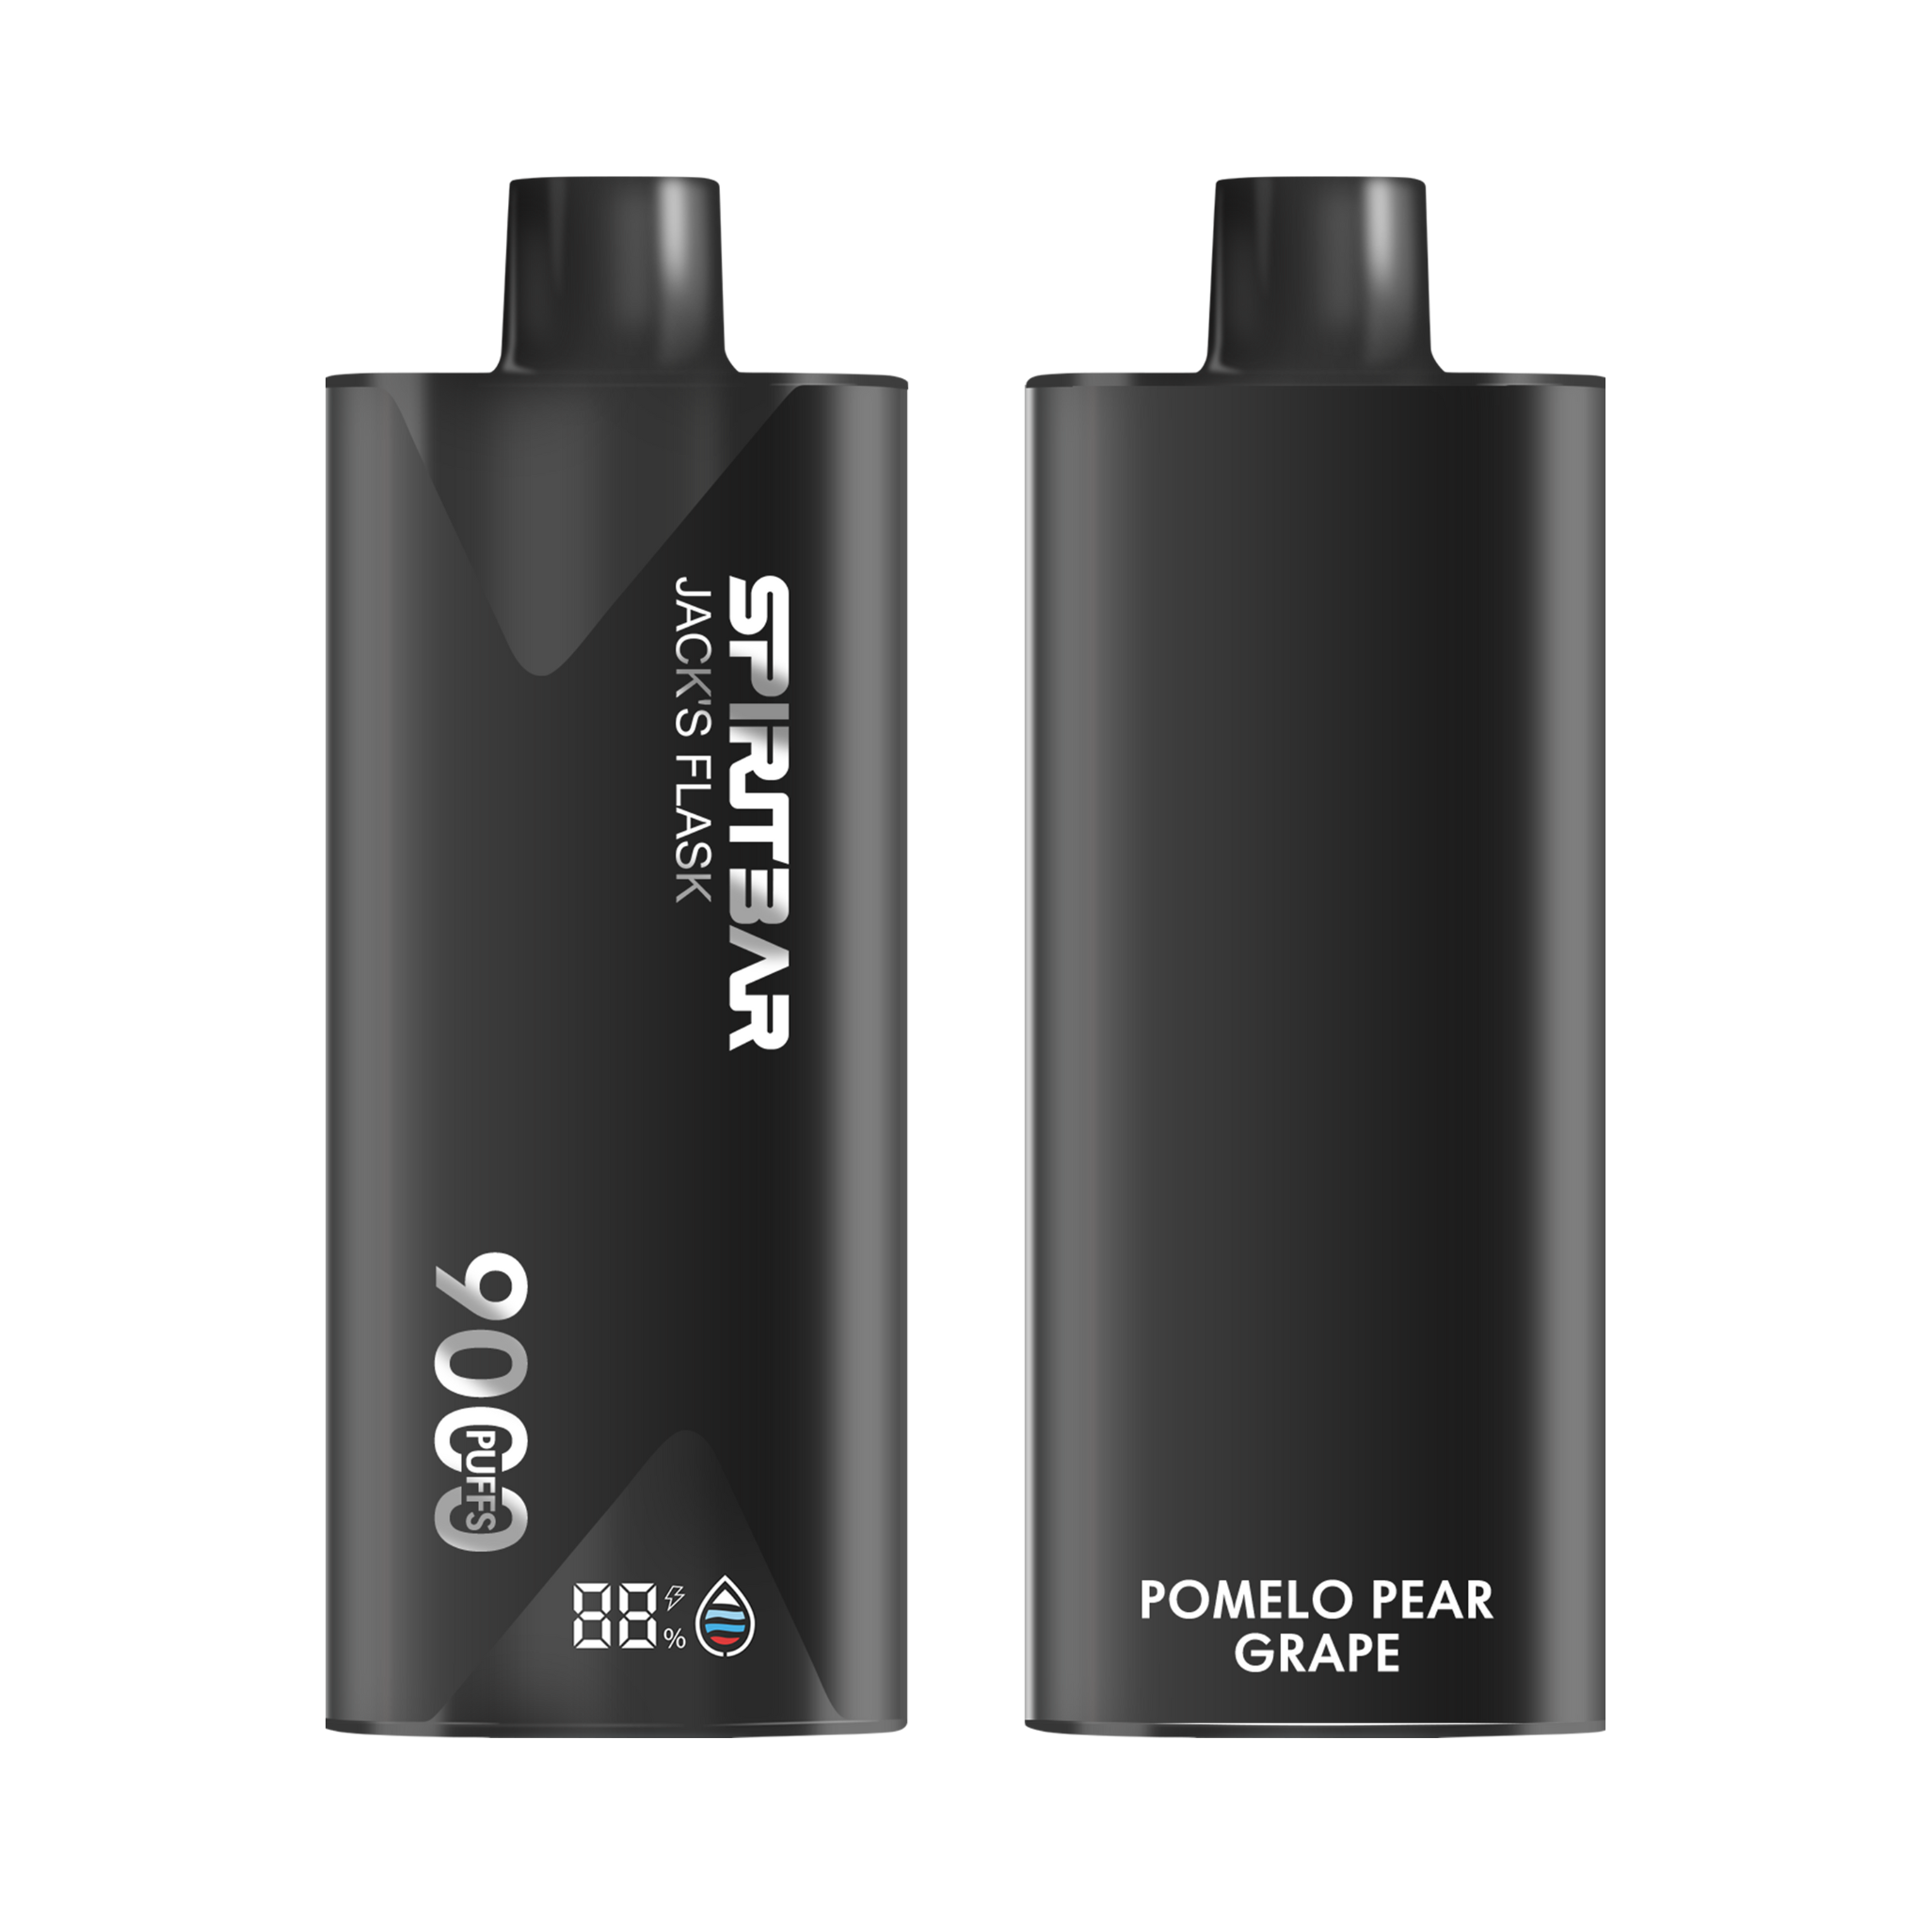
$36 $12.99 (Free Shipping, 2-6 Days Delivery)
- Stylish pirate flask-shaped body providing an exciting vaping experience
- Delivering up to 9000 puffs per device
- 20ml e-liquid capacity with 50mg nicotine strength for satisfying throat hit
- Specialized pirate-themed e-juice flavors for rich, swirling taste
Ensure that you handle all components with care to avoid damage and potential leaks when you reassemble the tank.
Use a paper towel dampened with rubbing alcohol or vodka to wipe the inside of the tank, paying special attention to any crevices where residue tends to accumulate. After you’ve wiped down the tank, rinse it thoroughly with warm water to remove any traces of alcohol.
Finally, lay out all the components on a paper towel and allow them to dry completely, which should take about 20 minutes. Once dry, you’re ready to reassemble your tank and enjoy a fresh vaping experience. Remember, proper maintenance is key to a satisfying vaping experience.
Submerging Components in Warm Water
Once you’ve emptied your tank and disassembled its parts, it’s time to give them a thorough cleaning. Submerge all components of your vape tank in warm water to loosen any e-liquid residue. If you encounter stubborn gunk, a few drops of dish soap can be added to the mix to help break it down. Ensure that the parts are fully immersed and gently agitate them to aid in the cleaning process.
After soaking, remove the components from the water and lay them out on a paper towel. It’s important to let them dry for about 20 minutes to ensure that all moisture has evaporated. This step is crucial; any remaining water can affect the performance of your vape when reassembled. Once dry, you’re ready to put your tank back together and reattach it to your vape mod, primed for a fresh vaping experience.
Remember, patience during the drying process is key to maintaining the integrity of your vape components and ensuring a smooth, flavorful vape.
Rinsing and Drying Before Reassembly
Once you’ve finished rinsing your vape tank components, it’s crucial to ensure they are completely dry before you start reassembling. Patience is key; any remaining moisture can cause issues such as short circuits or uneven heating. Lay out all the parts on a clean paper towel and allow them to air dry, which typically takes about 20 minutes. Avoid using any form of artificial heat to speed up the process, as this can damage some components.
Proper drying is not just about avoiding technical problems; it also plays a role in maintaining the purity of flavor when you vape. If you’re installing a new coil, remember to prime it by applying e-liquid directly to the cotton wick. This step is essential for preventing dry hits and ensuring a smooth vaping experience.
Once all components are dry, carefully reassemble your tank, making sure that each piece fits snugly and securely. This will help prevent leakage and ensure optimal performance.
Here’s a quick checklist to follow before reassembly:
- Ensure all parts are completely dry.
- Check for any damage or wear on the components.
- Reattach the coil, making sure it’s properly aligned.
- Screw the tank back together, being careful not to cross-thread.
Thorough Vape Tank Cleaning Techniques
Deep Cleaning with Rubbing Alcohol or Vodka
When you’re ready to perform a deep clean on your vape tank, rubbing alcohol or vodka can be your best allies. These substances are excellent for breaking down the stubborn residue that accumulates over time. Here’s how to use them effectively:
- Ensure your tank is completely empty of e-liquid.
- Disassemble the tank, taking care to remove the coil.
- Take a high-quality paper towel that won’t shred and slightly dampen it with your chosen cleaning agent.
- Gently wipe the inside of the tank, focusing on any hard-to-reach areas.
- After cleaning, rinse the tank thoroughly with warm water to eliminate any traces of alcohol.
- Allow all components to air dry on a paper towel, ensuring they are completely dry before reassembly.
Remember, allowing the tank to dry completely is crucial to prevent any mixing of water with your e-liquid, which can affect vapor quality and flavor.
By following these steps, you’ll not only maintain the quality of your vaping experience but also extend the lifespan of your tank. For additional tips on keeping your vape in top condition, check out our latest posts on vape safety and health guides.
Removing Residue and Ensuring Dryness
Once you’ve dealt with the gunk and buildup, it’s time to focus on ensuring dryness. Any leftover moisture can be a recipe for disaster, potentially causing short circuits or uneven heating. To avoid these issues, follow these simple steps:
- After cleaning, leave the components on a clean paper towel to air dry.
- Check the nooks and crannies for any remaining moisture; use a dry Q-tip to absorb it.
- Allow ample time for drying; rushing this process can lead to problems down the line.
Proper drying is as crucial as the cleaning itself. It’s the final step that prepares your vape for a fresh and flavorful experience.
Once everything is bone dry, you’re ready to reassemble your vape. Remember, a well-maintained device not only performs better but also lasts longer. Regular care, including cleaning with alcohol, replacing e-liquid, and coils after water exposure, and protecting against corrosion, is essential for the longevity and safety of your vape. Adhering to the manufacturer’s guidelines will ensure you get the most out of your device.
Reattaching the Tank for Optimal Performance
Once your vape tank is completely dry, it’s time to put it all back together. Start by carefully reassembling the tank components, ensuring that each piece fits snugly and securely. Check the O-rings and seals for any signs of wear or damage, as these are crucial for preventing leaks. If you find any issues, replace them before proceeding.
After reassembly, reattach the tank to your vape mod. It’s important to do this gently to avoid cross-threading which can damage the threads and lead to leaks or airflow problems. Once attached, give it a final inspection to make sure everything is tight and there are no gaps.
Remember, proper maintenance and reassembly of your vape tank not only prevents issues but also provides a better vaping experience. Take your time and follow these steps to ensure your tank is in top condition.
Finally, consult the manufacturer’s instructions for any specific details or recommendations. This can include the optimal torque for tightening parts or any special alignment required. By following these guidelines, you’ll help ensure that your tank performs at its best, giving you a satisfying and enjoyable vaping session.
Choosing the Right E-Liquid and Filling Techniques
Selecting E-Liquids with Appropriate Viscosity
When refilling your vape tank, the viscosity of your e-liquid is a critical factor to consider. E-liquids with a higher Vegetable Glycerin (VG) content tend to be thicker and produce more substantial vapor clouds, but they also require more power to vaporize effectively. Conversely, e-liquids with a higher Propylene Glycol (PG) content are thinner and can be vaporized at lower wattages, often providing a more pronounced flavor.
It’s important to find the right VG/PG balance that suits your device and personal preference. A common ratio is 30PG/70VG, which offers a good mix of flavor and vapor production. If you’re using a smaller device, you might opt for a higher PG ratio to ensure the e-liquid wicks properly at lower temperatures.
Remember, the right viscosity not only affects the quality of your vaping experience but also how efficiently your device operates. Matching your e-liquid’s viscosity with your device’s capabilities can prevent issues such as leakage or coil damage.
Here’s a simple guide to help you match your coil wattage to your e-liquid type:
- For higher VG e-liquids: Use a higher wattage coil.
- For higher PG e-liquids: Opt for a lower wattage coil.
By selecting e-liquids with the appropriate viscosity, you ensure a smoother vaping experience and extend the life of your coils.
Filling at an Angle to Avoid the Centre Air Channel
When refilling your vape tank, it’s crucial to avoid getting e-liquid into the centre air channel, as this can lead to unpleasant gurgling, spitting, and potential leaking. Tilt your device downwards at an angle while filling to guide the e-liquid directly into the tank’s reservoir. This simple adjustment can significantly enhance your vaping experience by preventing common issues associated with improper filling.
E-liquid overflow into the air channel is a common mistake, but easily avoidable. Here’s a quick checklist to ensure you’re doing it right:
- Locate the fill ports on your tank.
- Gently tilt the tank and begin to pour the e-liquid at an angle.
- Carefully watch the level of e-liquid to avoid overfilling.
- Once filled, wait a few minutes to allow the e-liquid to properly saturate the coil.
Remember, patience is key. Allowing the e-liquid to settle before taking your first puff will ensure a smoother and more enjoyable vaping session.
Understanding Your Tank’s Design for Effective Refilling
To ensure a smooth and satisfying vaping experience, it’s essential to understand your tank’s design. Knowing how to properly refill your tank can make all the difference. If your tank’s top or bottom hardware unscrews completely for filling, be cautious to avoid getting e-liquid in the centre air channel. Here’s a quick guide to maintaining your vape: clean tank, charge battery, store properly, use high-quality e-liquids. This not only contrasts vape pens and e-cigarettes but also highlights customization and flavor options.
Choosing the right vape tank is crucial for a satisfying vaping experience. Consider material quality, e-liquid capacity, and compatibility for an informed choice that suits your preferences.
Follow these steps for effective refilling:
- Detach the vape tank from the device.
- Locate the fill ports on the tank.
- Prime the coil if required.
- Carefully pour e-liquid into the tank through the fill ports, avoiding the centre air channel.
- Close the tank securely and wait a few minutes for the e-liquid to saturate the coil.
- Adjust the airflow if necessary and reattach the tank to the device.
Remember to follow manufacturer instructions for any specific details to prevent issues such as leakage or coil damage.
Frequently Asked Questions
Can you refill a vape tank?
Yes, you can refill a vape tank. Detach the tank from the device, locate the fill ports, prime the coil if necessary, and pour e-liquid into the tank through the fill ports. Ensure you follow the manufacturer’s instructions for best results.
Why is my vape tank leaking from the bottom?
A vape tank may leak from the bottom due to damaged O-rings, overfilling, coil issues, incorrect airflow settings, temperature changes, cracks, or using excessively thin e-liquids. Check and address these factors to prevent leakage.
How do you quickly clean a vape tank?
For a quick vape tank clean, remove the tank from the mod, pour out any e-liquid, disassemble the tank, submerge components in warm water, rinse them, and dry before reassembly. This helps prevent flavor contamination when changing e-liquid flavors.
What are the steps for a thorough vape tank cleaning?
For a thorough cleaning, disassemble the tank, pour out e-liquid, remove the coil, wipe the inside with alcohol or vodka, rinse with water, and dry the components before reassembling. This maintains performance and prolongs the tank’s lifespan.
How do you ensure e-liquid doesn’t enter the tank’s centre air channel when refilling?
To prevent e-liquid from entering the tank’s centre air channel, fill the tank at an angle. This ensures the e-liquid goes into the tank’s reservoir and not into the air channel.
How important is it to select the right e-liquid viscosity for refilling a vape tank?
Selecting the right e-liquid viscosity is crucial for refilling a vape tank. The appropriate viscosity ensures proper wicking, prevents leakage, and enhances the overall vaping experience.