Understanding the Importance of Vape Hygiene
The Impact of Regular Maintenance on Vape Longevity
Keeping your vape in prime condition is not just about enjoying a smooth hit; it’s about extending the life of your device. Regular maintenance is the key to ensuring your vape functions optimally for as long as possible. Just like any other electronic device, your vape requires attention and care.
Cleaning your vape isn’t a task to be taken lightly; it’s an essential part of vape ownership. By routinely cleaning your vape, you’re not only preserving its quality but also protecting your investment. A well-maintained vape can save you money in the long run by avoiding frequent replacements.
Remember, the longevity of your vape is directly influenced by how well you take care of it. Regular cleaning can prevent the accumulation of residue and bacteria, which can affect performance and hygiene.
Here are a few simple steps to incorporate into your maintenance routine:
- Inspect your vape’s coil and clean it regularly, ideally every two weeks.
- Replace parts like the coil and wick as needed to maintain efficiency.
- Keep the battery contacts and connection points clean to ensure proper power supply.
By following these guidelines, you’ll not only enjoy a better vaping experience but also contribute to the lifespan of your device.
Health Benefits of a Clean Vape Device
Keeping your vape device clean is not just about maintaining its performance; it’s about safeguarding your health. Clean vaporizing is healthier, reducing the risk of inhaling harmful residues and bacteria that can accumulate over time. A well-maintained vape ensures that you’re not compromising the quality of your vaping experience or your well-being.
Regular maintenance aligns with a health-conscious lifestyle, emphasizing the importance of cleanliness in all aspects of your life, including vaping. By routinely cleaning your device, you’re taking a proactive step towards a healthier vaping habit.
Embrace these simple habits to keep your vaping experience clean, satisfying, and safe. Regular cleaning is a small effort that can have significant health benefits.
Remember, a clean vape is a happy vape! Make it a habit to cleanse your device regularly, and you’ll not only enjoy a purer taste but also contribute to your overall health.
Aligning Vape Maintenance with a Health-Conscious Lifestyle
When you commit to regular maintenance of your vape device, you’re not just ensuring its longevity; you’re also taking a significant step towards a health-conscious lifestyle. Keeping your vape clean is crucial for preventing the inhalation of unwanted residue and bacteria, which can be detrimental to your health.
Embrace these simple habits to keep your vaping experience clean, satisfying, and safe. Regular cleaning is a cornerstone of device care that aligns with the principles of a health-conscious lifestyle.
To integrate vape maintenance into your routine, consider the following steps:
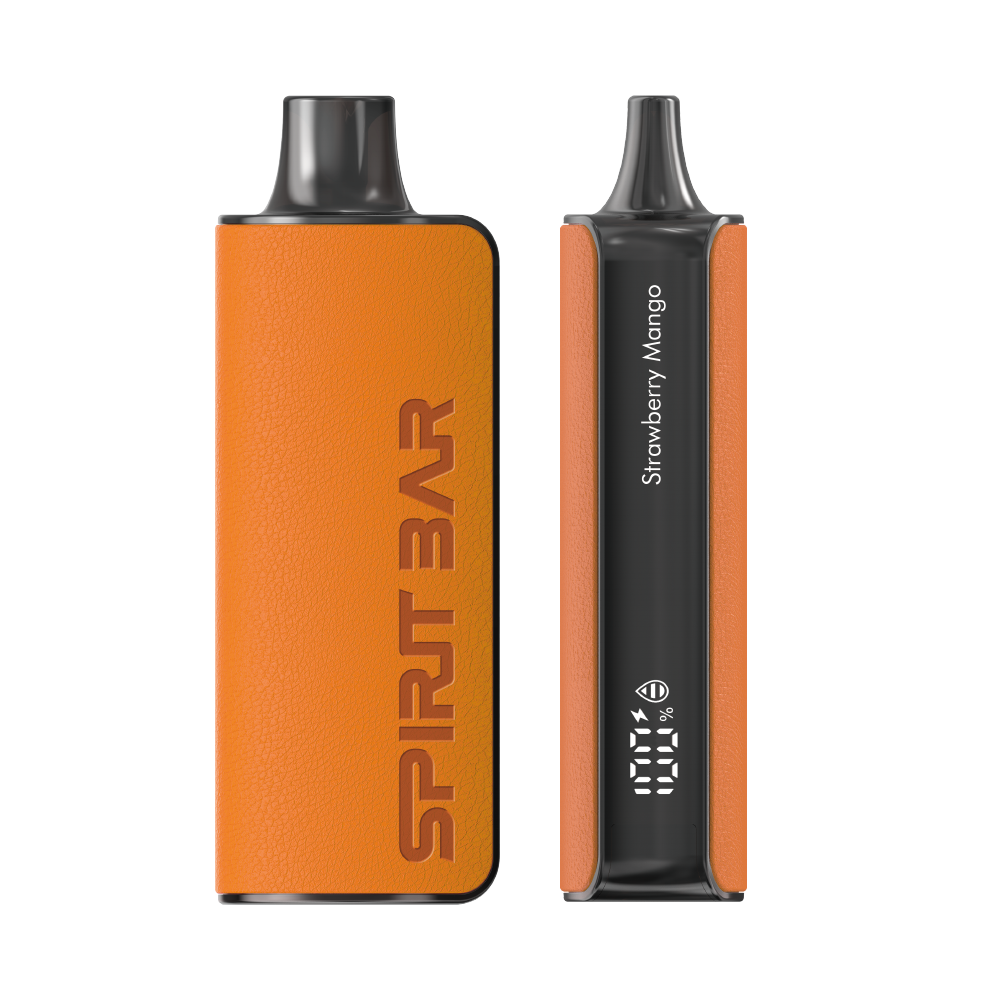
$36 $12.99 (Free Shipping, 2-6 Days Delivery)
- Slender, leather-textured body reminiscent of a katana handle for an authentic samurai feel
- Unique samurai-inspired e-liquid flavor - fruity yet not too sweet, with a luxurious, elegant aroma
- Large 18ml e-liquid capacity and 10,000 puff capacity
- Advanced mesh coil and e-liquid & power display screens for optimal vaping experience
- Schedule regular cleaning sessions, just as you would with any other wellness activity.
- After each use, do a quick check for any visible residue or buildup.
- Deep clean your device periodically to ensure thorough sanitation.
By treating your vape device with the same care you would give to any other aspect of your health regimen, you can enjoy a better vaping experience and peace of mind.
Preparing for the Cleanse: Gathering Your Supplies
Essential Cleaning Tools and Solutions
Before you dive into the world of vape maintenance, it’s crucial to arm yourself with the necessary tools. Gathering your supplies beforehand will streamline the cleaning process and ensure that you don’t miss a spot. Here’s a simple checklist to get you started:
- High-strength isopropyl alcohol or a dedicated vape cleaning solution
- Warm water
- Paper towels or soft cloths
- Cotton swabs
- A small bowl or container
- Toothpick or a small brush
By having these items within reach, you can efficiently tackle each component of your vape device, ensuring a thorough cleanse that maintains performance and longevity.
Remember, regular maintenance is not just about keeping your device in good shape; it’s about prioritizing your health. A clean vape means a safer, more enjoyable vaping session. Customize your approach with the right tools and embrace a routine that supports both your device’s health and your own.
Setting Up Your Cleaning Workspace
Before you embark on the journey to refresh your vape device, it’s crucial to set up a dedicated cleaning workspace. Ensure your space is well-ventilated, organized, and free of any distractions or hazards. This will not only make the cleaning process smoother but also safer.
Gather all the necessary supplies listed in your step-by-step guide, such as isopropyl alcohol or a dedicated vape cleaner, warm water, paper towels or a clean cloth, cotton swabs, and a small brush or toothpick. Having everything within arm’s reach will streamline your workflow and prevent any unnecessary interruptions.
Remember, a clean and organized workspace reflects the care you put into maintaining your vape device, including your Spiritbar disposable vape.
Lastly, ensure that your workspace surface is stable and covered with a towel or mat to protect it from any spills or damage during the cleaning process. This preparation sets the stage for a thorough and efficient cleanse, contributing to the longevity and performance of your vape.
Safety Precautions Before You Begin
Before diving into the cleaning process, it’s crucial to prioritize your safety. Always ensure your vape device is powered off and, if applicable, remove the battery to prevent any accidental activation. This is not just a precautionary step; it’s a fundamental aspect of vape device maintenance.
Remember, safety is paramount. By taking the right precautions, you can avoid potential hazards and ensure a smooth cleaning experience.
Here’s a quick checklist to guide you through the initial safety steps:
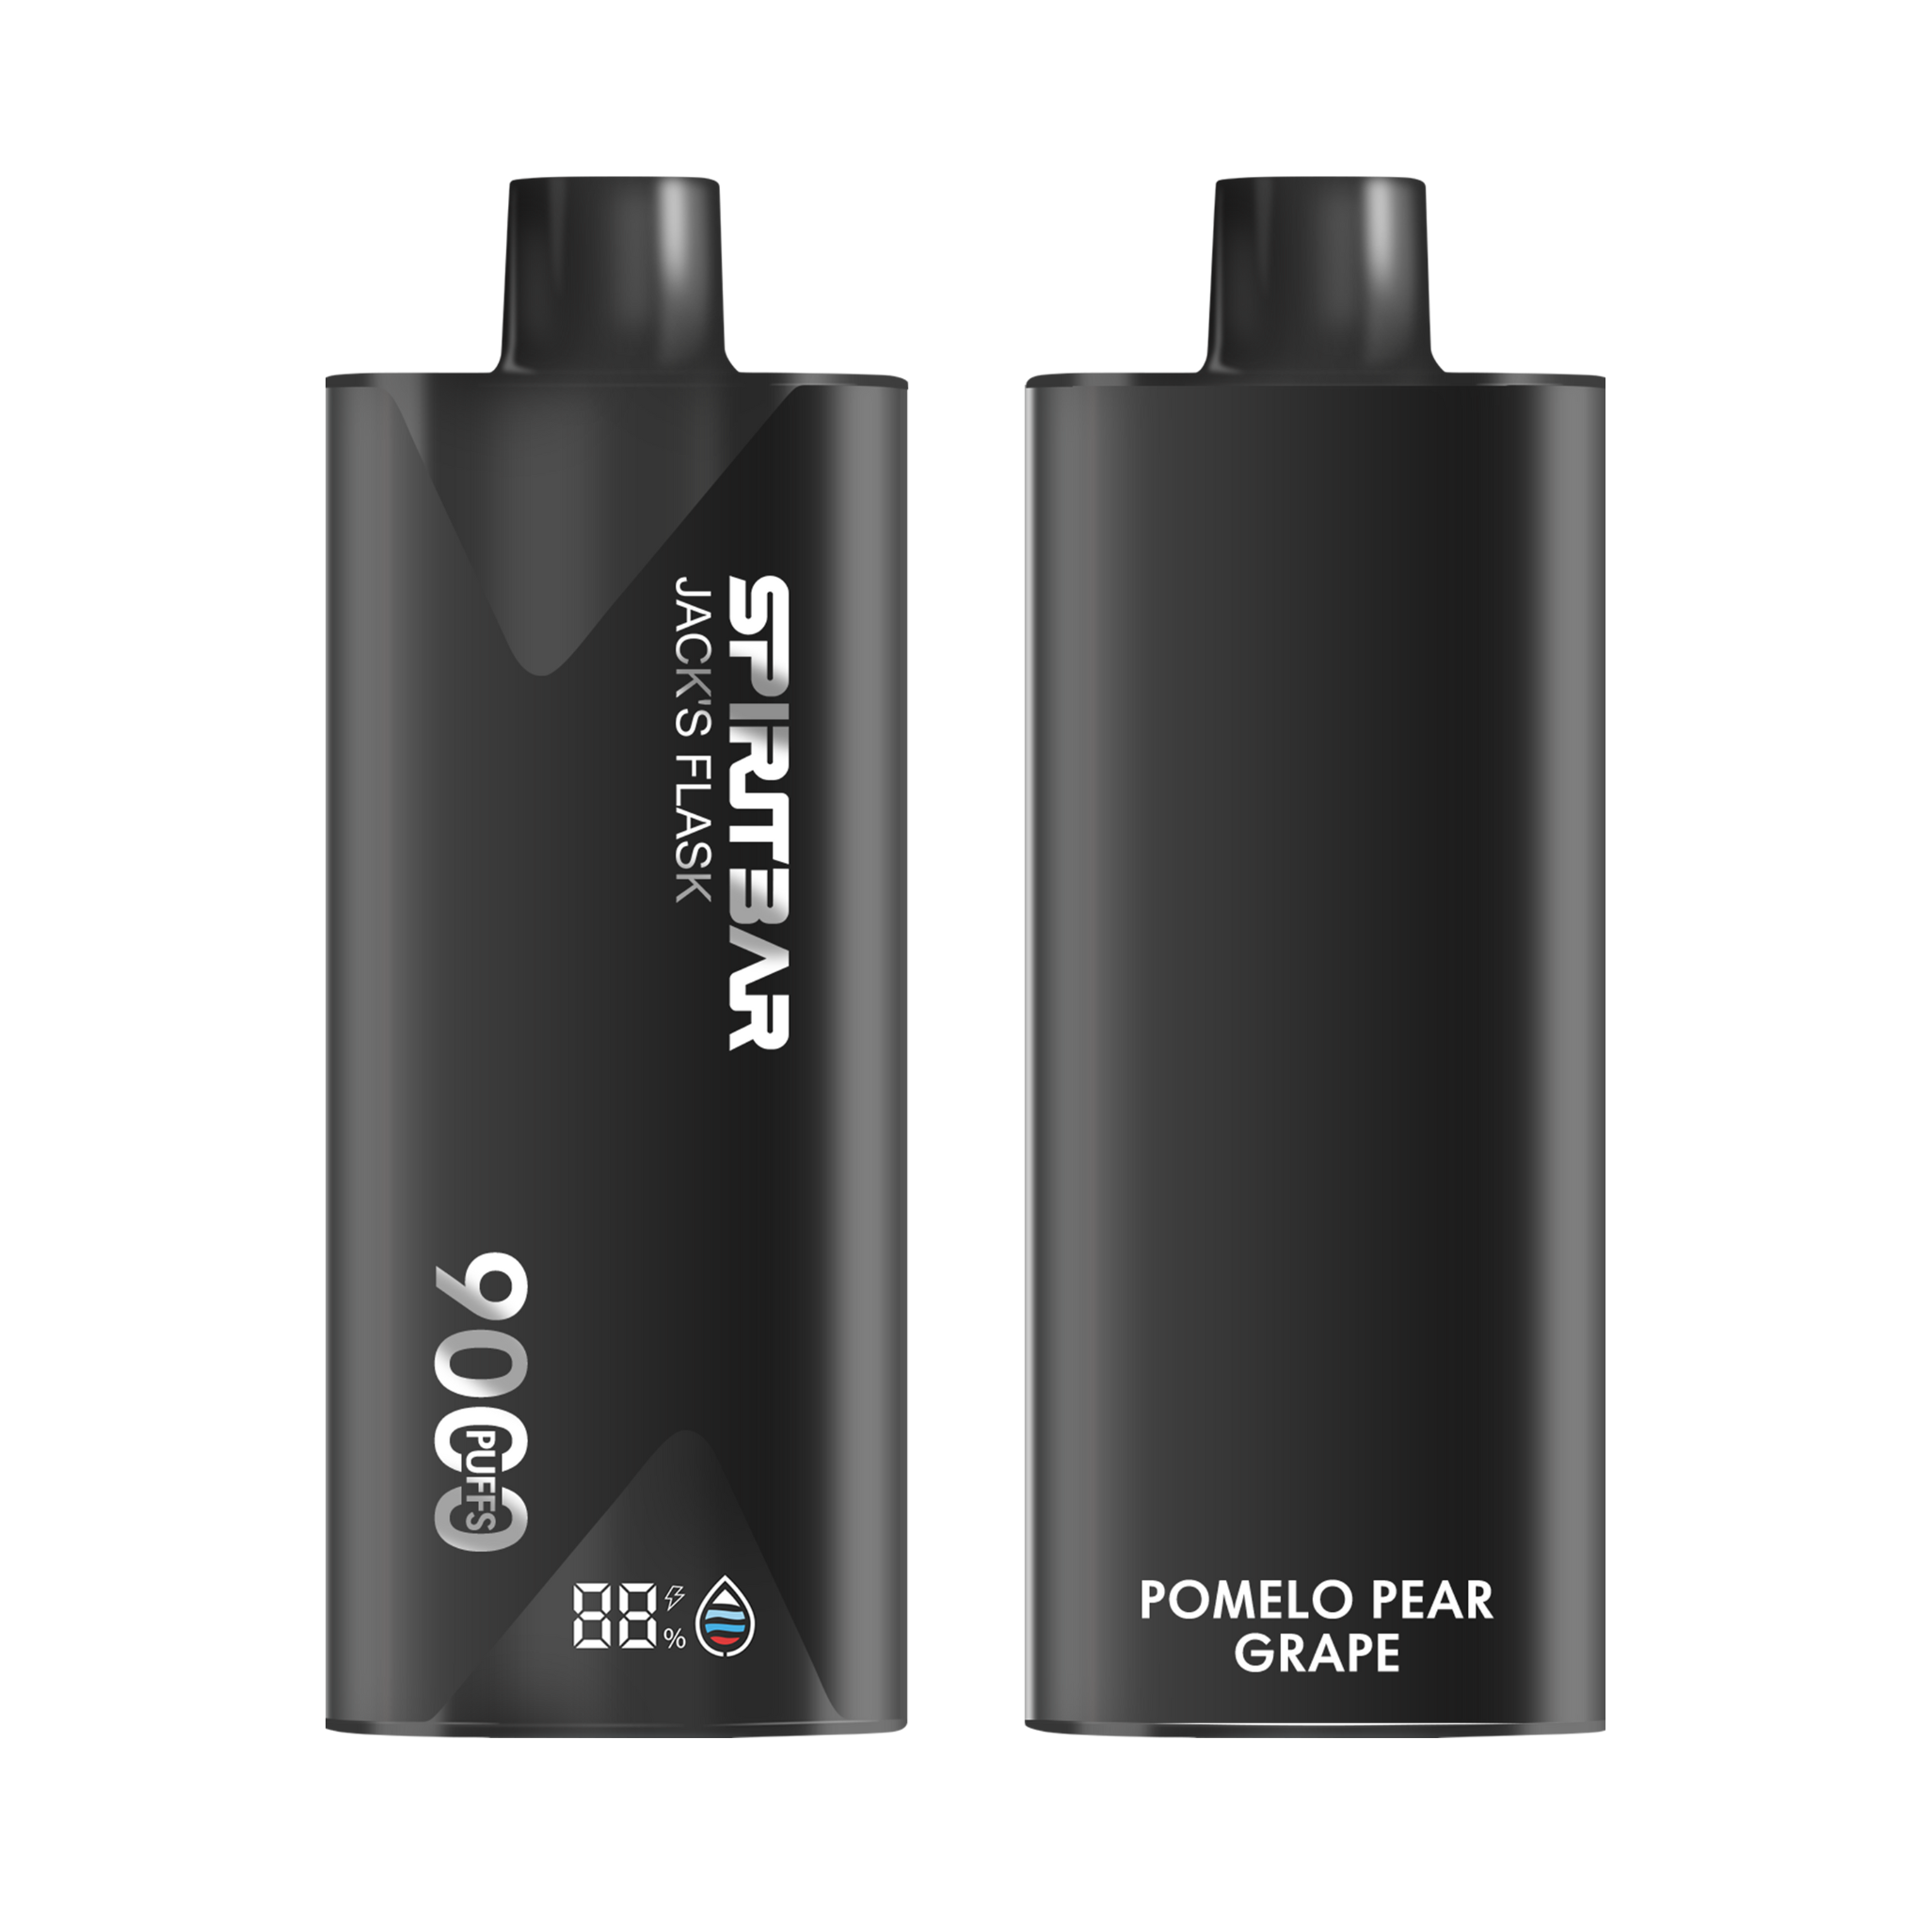
$36 $12.99 (Free Shipping, 2-6 Days Delivery)
- Stylish pirate flask-shaped body providing an exciting vaping experience
- Delivering up to 9000 puffs per device
- 20ml e-liquid capacity with 50mg nicotine strength for satisfying throat hit
- Specialized pirate-themed e-juice flavors for rich, swirling taste
- Wear protective gloves to avoid direct contact with e-liquid residue and cleaning solutions.
- Work in a well-ventilated area to prevent the inhalation of fumes from isopropyl alcohol or other cleaning agents.
- Keep all cleaning supplies and tools within easy reach to maintain an organized workspace.
- If you’re using water, ensure it’s at a safe temperature to avoid burns and to effectively dissolve residues.
By following these guidelines, you’ll set the stage for a thorough and safe cleaning session. And once you’ve found the perfect vape flavor profile, maintaining a clean device will help preserve the taste and quality of your vaping experience.
The Disassembly: A Step-by-Step Breakdown
Identifying and Separating Vape Components
Before you dive into the cleaning process, it’s crucial to identify and separate the different components of your vape device. This will not only make cleaning more manageable but also prevent any potential damage during the process. Start by ensuring your device is turned off and, if applicable, remove the battery for safety.
- Tank: This holds your e-liquid and is usually connected to the mouthpiece.
- Battery: The power source for your device. Handle with care.
- Coils: These heat the e-liquid and can be delicate.
- Mouthpiece: The part you draw vapor from.
Remember, each part plays a vital role in the functionality of your vape, and proper maintenance is key to a satisfying experience.
After separating the components, take a moment to familiarize yourself with how they fit together. This knowledge will be invaluable when it comes time to reassemble your device. Consult your device’s manual for specific instructions on disassembly to avoid any unintended damage.
Tips for Safely Handling Delicate Parts
When you’re ready to clean your vape, handling the delicate parts with care is crucial. Always turn off your device and, if possible, remove the battery before disassembly. This ensures safety and prevents any accidental activation. As you separate the components, be mindful of the connections and small parts that can be easily lost or damaged.
- Use a soft cloth or cotton swabs for cleaning surfaces and crevices.
- Employ toothpicks or a small brush to dislodge any stubborn residue.
- Remember to be gentle; applying too much force can break or warp parts.
Be sure to note the arrangement of parts during disassembly to facilitate a smoother reassembly process.
Finally, when using liquids like isopropyl alcohol or a dedicated vape cleaner, ensure that you do not soak the parts. Instead, apply the solution sparingly and avoid direct contact with electronic components such as the battery. Just make sure to rinse your vape thoroughly after using a cleaning solution.
Organizing Parts for Efficient Cleaning
Once you’ve disassembled your vape device, it’s time to organize the parts for efficient cleaning. Start by categorizing the components based on their material and function. This will streamline the cleaning process and help you avoid any mix-ups during reassembly. Use a clean, dry surface to lay out all the parts, and consider placing them in the order of cleaning priority.
- Tank
- Coils
- Battery
- Mouthpiece
- Connection points
By organizing your components systematically, you ensure that each part gets the attention it deserves, leading to a thorough cleanse.
Remember, some parts may require special attention or a different cleaning method. For instance, while the tank can often be rinsed with warm water, the coils might need to be replaced rather than cleaned, as their performance can degrade over time. Always check for wear and replace parts as needed to maintain the integrity of your device.
Deep Cleaning Each Component
Tank Cleaning Techniques for Residue Removal
To ensure your vape tank is pristine and ready for a new flavor experience, start by emptying any remaining e-liquid. Next, disassemble the tank and remove the coil. Rinse the tank with warm water to wash away any loose residue. For a more thorough cleanse, especially if there’s a lot of gunk buildup, soak the tank in isopropyl alcohol or a dedicated vape cleaning solution.
Remember, patience is key. Allow the tank to soak for 30 minutes to an hour for optimal results. After soaking, use a soft-bristled brush or toothpick to gently dislodge any stubborn e-liquid build-up. Rinse the tank again with warm water and let all components air-dry completely before reassembling.
Here’s a quick checklist for tank cleaning:
- Empty the tank
- Disassemble and remove the coil
- Rinse with warm water
- Soak in isopropyl alcohol if needed
- Dislodge residue with a brush or toothpick
- Rinse and air-dry
Coil Maintenance: To Clean or Replace?
When it comes to maintaining your vape, the coil is a critical component that often prompts a decision: should you clean it or replace it? Coils have a finite lifespan and are typically replaced rather than cleaned. However, if you choose to clean your coil, remember to soak it in warm water and allow it to dry completely. This may not fully restore its performance, but it can extend its life.
Maintain vape by cleaning with alcohol to prevent corrosion. Replace e-liquid and coils after water exposure for a safe vaping experience.
Here are some steps to follow if you decide to clean your vape coil:
- Remove the coil from your device.
- Rinse the coil under warm water to remove e-liquid residue.
- For a deeper clean, soak the coil in vinegar or ethanol for a few minutes.
- Rinse After Vinegar Soak: After the soak, give the coil another thorough rinse under clean hot water to flush away all loosened residue.
- Pat the coil dry with a paper towel and let it air-dry completely before reassembly.
Remember, regular maintenance not only preserves the quality of your vape but also aligns with a health-conscious lifestyle. If you’re unsure or need further advice, don’t hesitate to contact the manufacturer or consult a professional at your local vape shop.
Battery and Connection Point Care
Maintaining the battery and connection points of your vape device is crucial for its overall performance and longevity. Use a cotton swab dipped in alcohol to gently clean the battery compartment and contact points. This will help prevent any e-liquid leakage and ensure a strong connection for power delivery.
- Turn off your device and, if possible, remove the battery before cleaning.
- Gently wipe the battery surface with a dry cloth to remove any dust or debris.
- Carefully clean the connection points with a cotton swab dipped in alcohol.
- Avoid using excessive liquid on the battery to prevent damage.
- Allow the battery and connection points to dry completely before reassembling.
Regular maintenance, including the care of the battery and connection points, not only preserves the quality of your vape but also aligns with a health-conscious lifestyle. For any issues beyond basic cleaning, such as battery malfunctions or persistent connection problems, seek professional help.
Remember, a well-maintained vape ensures a safer and more enjoyable vaping experience. If you’re unsure about any step, consult the manufacturer’s guide on maintaining your vape battery or speak to a professional at your local vape shop.
Reassembling Your Vape Device Post-Cleanse
Ensuring Proper Fit and Functionality
After the thorough cleaning of your vape device, reassembly is a critical step that requires attention to detail. Ensure that each component is completely dry and fits back into place with precision. Start by attaching the battery and connection points, making sure they are clean and free of any residue.
Next, carefully screw the tank back onto the device. It’s crucial to avoid overtightening, as this can damage the threads or the tank itself. Use a gentle, firm touch to secure the tank.
Remember, a properly reassembled vape device not only functions better but also prevents potential leaks and malfunctions.
Finally, check that all parts are snug and there are no gaps. If you encounter any resistance or issues, do not force the parts together. Instead, take a moment to review the assembly process and ensure that all components are aligned correctly. Regularly cleaning and maintaining your vape tank is essential for optimal performance and longevity. Follow step-by-step instructions for thorough cleaning and reassembly to enhance flavor and prevent issues. Remember to use compatible parts and e-liquids for best results.
Troubleshooting Common Reassembly Issues
After meticulously cleaning each component of your vape, you’re ready to put it all back together. But sometimes, things don’t go as smoothly as planned. If your device isn’t functioning properly post-cleanse, it’s time to troubleshoot. Start by ensuring that all parts are completely dry and free from any cleaning residue. Check that each piece fits back securely without overtightening, which can cause damage or misalignment.
When reassembling, pay close attention to the connections. A loose or improperly fitted connection can lead to power failures or inconsistent performance.
Here’s a quick checklist to help you address common issues:
- Verify that the battery is fully charged and properly installed.
- Inspect the coil and make sure it’s either thoroughly cleaned or replaced if necessary.
- Ensure the tank is reattached firmly to the battery and that there are no leaks.
- Look for any missing parts that might have been overlooked during the cleaning process.
Remember, regular maintenance following these steps is crucial for the longevity and optimal performance of your vape. Always exercise caution to avoid damaging your device and to stay within warranty guidelines. This guide on troubleshooting, reassembling, and maintaining vapes is your go-to resource for keeping your device in prime condition.
Final Checks Before Returning to Use
Before you take that first puff, it’s crucial to perform a few final checks to ensure your vape device is in perfect working order. Inspect all connections to make sure they’re tight and secure, but not overtightened, as this could damage the threads or the components themselves.
Next, give your device a once-over for any signs of damage or wear that could impact its performance. If you’ve used a tiny bit of rubbing alcohol to clean the surface of the battery, ensure it’s completely dry before reinserting it into the vape. This is essential to prevent any short-circuiting or damage to the battery.
After reassembly, it’s time for a test run. Connect your device to the charging cable to check if the battery level increases, indicating a proper charge. This step is not just about power—it’s about safety and functionality.
Finally, here’s a quick checklist to run through before you resume vaping:
- Ensure all parts are dry and free from cleaning residue.
- Check that the battery is charged and functioning.
- Verify airflow through the mouthpiece is unobstructed.
- Look for any leaks or loose components.
- Perform a test run to confirm the device operates smoothly.
Frequently Asked Questions
Why is it important to clean my vape device?
Cleaning your vape device is crucial for maintaining the purity of flavor, ensuring the longevity of the device, and providing an optimal vaping experience. Regular maintenance prevents the buildup of residue and bacteria, contributing to both device health and personal hygiene.
How often should I clean my vape device?
It’s recommended to clean your vape device regularly, depending on usage. A general guideline is to clean it every couple of weeks or whenever you change e-liquid flavors to prevent flavor contamination.
What supplies do I need to clean my vape device?
You’ll need high-strength isopropyl alcohol or a dedicated vape cleaning solution, warm water, paper towels or soft cloths, cotton swabs, a small bowl or container, and a toothpick or small brush.
Can I clean the vape coil, or should I replace it?
While coils have a limited lifespan and are typically replaced, you can attempt to clean them by soaking in warm water and letting them dry completely. However, this may not fully restore their performance, and replacement is often the better option.
How do I clean the battery and connection points of my vape?
Use a cotton swab dipped in alcohol to carefully clean the battery compartment and contact points. Avoid getting liquid inside the battery to prevent damage. Clear off any dust or e-liquid that might interrupt the connection.
What should I do if I encounter issues when reassembling my vape device?
Ensure all parts are dry and clean before reassembly. If you encounter issues, double-check that each component is properly fitted and consult the manufacturer’s guide or seek advice from a professional at your local vape shop for troubleshooting.