Preparing to Refill Your Vape Tank
Checking Cartridge Compatibility
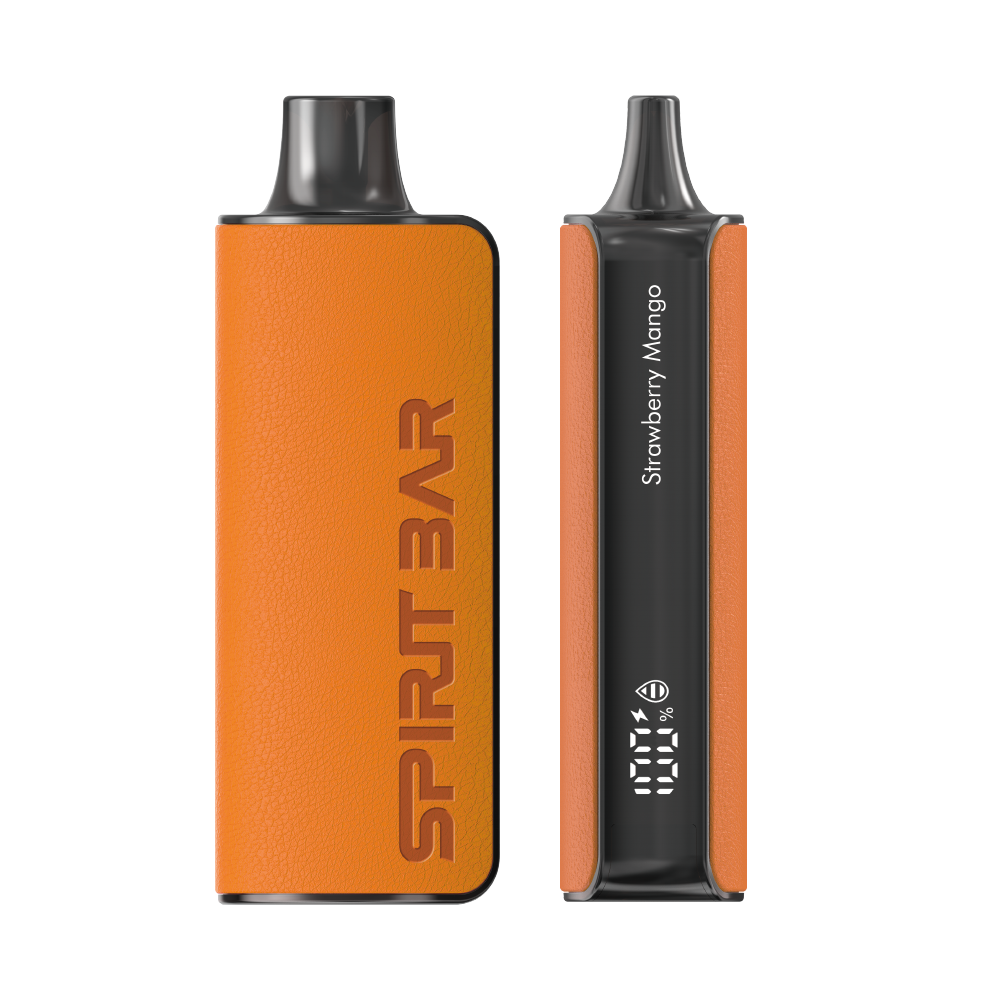
Before you begin refilling your vape tank, it’s crucial to ensure that the cartridge you’re using is compatible with your device. Not all cartridges are interchangeable, and using the wrong type can lead to leaks, poor performance, or even damage to your vape. For example, if you own a Spiritbar disposable vape, you’ll need to check if it requires a specific type of cartridge.
To avoid any inconvenience, follow this simple checklist:
- Verify if the cartridge is 510-threaded or designed for a pod system.
- Check the voltage requirements of the cartridge.
- Confirm that your device has the appropriate settings and power capacity.
By taking the time to match the cartridge with your vaping device, you can ensure a smooth and enjoyable vaping experience.
Unscrewing the Mouthpiece
Once you’ve confirmed that your cartridge is compatible with your vape pen, it’s time to focus on the mouthpiece. Carefully unscrew the mouthpiece from the cartridge to avoid any damage to the threading. A smooth unscrewing motion is crucial for maintaining the integrity of your device.
- Gently wipe the area where the cartridge connects to the pen with a cotton swab and isopropyl alcohol.
- Look for any residue or buildup that could indicate a leak or clog.
- Ensure the mouthpiece is clear of obstructions for a smooth airflow.
By keeping an eye on these aspects, you can prolong the life of your cartridge and enjoy a cleaner, more reliable vaping experience.
As you disassemble your tank, remember this step-by-step guide to safely dismantle a vape: remove the battery, disassemble the tank, clean components. Troubleshooting tips for common issues like leaking and burnt taste are essential to prevent future problems. Properly clean and maintain your vape tank for optimal performance. Regular cleaning, reassembly, and troubleshooting prevent issues and ensure a satisfying vaping experience. Follow the manufacturer’s guidelines for the best results.
Using a Syringe for Filling
When refilling your vape tank, precision is crucial to prevent spills and ensure the correct dosage. Using a syringe is the most effective method to achieve this. It allows you to measure and transfer the e-liquid accurately into the tank. Follow these steps for a smooth refilling process:
- Check the maximum capacity of your cartridge; most models can hold 0.50 or 1 ml of e-liquid.
- Fill the syringe with the desired amount of juice.
- Insert the tip of the syringe into the cartridge and gently fill it to the max line.
- Be careful not to overfill to avoid leakage and potential damage to your vape pen.
Remember, while using a syringe can enhance the precision of refilling, it’s not a substitute for regular cartridge maintenance and eventual replacement.
After filling, ensure that you reattach the mouthpiece securely and give the oil some time to settle before using your vape. This patience can prevent issues such as leaks, which may damage your battery or vape pen.
The Refilling Process
Avoiding Overfilling
When refilling your vape tank, it’s crucial to avoid overfilling. This not only prevents potential leaks but also ensures the proper functioning of your device. The vacuum inside the tank plays a pivotal role in preventing e-liquid from escaping. For the vacuum to form effectively, you need to leave a small amount of air at the top of the tank.
- Fill the tank slowly, watching the e-liquid level.
- Stop filling when you reach the fill line or just below it.
- Leave some space to allow the formation of a vacuum, which is essential for preventing leaks.
Overfilling can lead to e-liquid seeping into areas it shouldn’t, such as the central tube, leading to gurgling sounds or spit-back during use.
Remember, it’s better to refill more often with the correct amount than to overfill and face the consequences. If you’re using a syringe for precision, make sure to measure the e-liquid beforehand to avoid surpassing the tank’s capacity. By following these simple steps, you can enjoy a smooth vaping experience without the mess.
$36 $12.99 (Free Shipping, 2-6 Days Delivery)
- Slender, leather-textured body reminiscent of a katana handle for an authentic samurai feel
- Unique samurai-inspired e-liquid flavor - fruity yet not too sweet, with a luxurious, elegant aroma
- Large 18ml e-liquid capacity and 10,000 puff capacity
- Advanced mesh coil and e-liquid & power display screens for optimal vaping experience
Securing the Mouthpiece
Once you’ve filled your vape tank with the desired amount of oil, it’s crucial to secure the mouthpiece properly to prevent leaks and ensure optimal performance. Start by aligning the mouthpiece with the top of the cartridge. Then, gently twist it clockwise until it’s snugly fitted. Avoid overtightening, as this can damage the threads or the seal.
Ensuring a tight seal is essential for maintaining the integrity of your vape and preventing any potential leaks.
Remember to check for any signs of damage or wear on the mouthpiece before reattaching it. If you notice any cracks or defects, it may be time to replace the mouthpiece to maintain a secure fit and avoid any issues during use. After securing the mouthpiece, give your vape a quick inspection:
- Hold the tank up to the light and rotate to check for cracks.
- Look for any residue or buildup that could indicate a leak or clog.
- Ensure the airflow is clear for a smooth vaping experience.
Allowing the Oil to Settle
Once you’ve secured the mouthpiece back onto your vape tank, it’s crucial to allow the oil to settle. This step is essential for avoiding air bubbles which can lead to poor vapor production and a less satisfying vaping experience. Give the oil a few minutes to saturate the wick fully. This patience ensures that the wicking material is thoroughly soaked, which is vital for a smooth hit.
- Allow the oil to settle for at least 3-5 minutes
- Tilt the tank back and forth to help the oil distribute evenly
- Check for air bubbles and tap the tank gently if needed
By allowing the oil to settle, you’re not only priming your vape for optimal performance but also extending the life of your coil. A well-saturated coil will deliver the best flavor and vapor production.
Remember to follow the manufacturer’s instructions for the best results and to maintain the quality of your vaping experience. This step is a simple yet significant part of the refilling process that contributes to the overall maintenance and longevity of your vape tank.
Priming Your Vape Coil
Saturating the Wicking Holes
Once you’ve filled your tank with your chosen vape juice, the next crucial step is to ensure your coil is properly primed. Saturating the wicking holes is key to avoiding the dreaded dry hit and extending the life of your coil. Begin by applying e-liquid directly to the wicking holes located on the sides of the coil. Use a bottle of e-liquid to gently wet the wick by squeezing the bottle and brushing the nozzle against the holes until they appear thoroughly soaked.
After saturating the wicking holes, it’s important to give the e-liquid time to fully permeate the wick. Allow your device to sit for about 5 minutes before taking any puffs. This waiting period is essential for preventing any harsh, burnt taste upon first use.
To further prime the coil, take a few dry pulls from the mouthpiece with the device turned off. This action helps draw the liquid into the coil, ensuring it’s ready for a smooth vaping experience. Once you’ve completed these steps, you can power on your device and start with gentle draws at a low setting, gradually increasing the power to your preferred level. Remember, patience during the priming process will reward you with a better tasting vapor and a longer-lasting coil.
$36 $12.99 (Free Shipping, 2-6 Days Delivery)
- Stylish pirate flask-shaped body providing an exciting vaping experience
- Delivering up to 9000 puffs per device
- 20ml e-liquid capacity with 50mg nicotine strength for satisfying throat hit
- Specialized pirate-themed e-juice flavors for rich, swirling taste
Inserting the Coil
Once you’ve ensured that your coil is fully saturated, it’s time to insert it into the tank. Carefully align the coil with the base of the tank and screw it in place. This step is crucial as a misaligned coil can cause leaks or affect the performance of your vape. Use gentle pressure to avoid cross-threading which can damage the threads and make future coil changes difficult.
After securing the coil, double-check to ensure that it’s snug and there are no gaps where e-liquid can escape. Remember, a well-installed coil is key to a smooth vaping experience. Here’s a simple checklist to follow:
- Ensure the coil is properly primed
- Align the coil with the tank base
- Screw in the coil gently but firmly
- Check for any gaps or misalignment
By taking the time to install your coil correctly, you’re setting yourself up for an optimal vaping session. Proper installation helps to maintain device performance and extends the life of your coil.
Filling the Tank with Juice
Once you’ve inserted the coil, it’s time to fill the tank with your chosen e-liquid. Pour the juice slowly to avoid any spillage or flooding of the coil. Aim to fill the tank up to the indicated max line to prevent overfilling. Here’s a simple step-by-step guide to ensure you do it right:
- Tilt your tank slightly and begin to pour the e-liquid along the side.
- Fill up to the max fill line, not above it.
- After filling, give the liquid a few minutes to soak into the coil.
Patience is crucial at this stage. Allowing the e-liquid to properly saturate the coil will enhance your vaping experience and help to avoid dry hits or burning the coil.
After you’ve successfully filled the tank, it’s important to maintain and store your vape tank properly. A brief guide on cleaning and storing vape tanks includes disassembling, rinsing, drying, and reassembling. Always store your vape tank upright and away from excessive heat or light to maintain its condition and ensure a pleasant vaping experience.
Maintenance and Cartridge Refilling
Regular Checks for Leaks and Clogs
To ensure the longevity and performance of your vape, regular checks for leaks and clogs are imperative. Start by inspecting the area where the cartridge connects to the pen; a cotton swab dipped in isopropyl alcohol can be used to clean any residue or buildup. This simple step can prevent potential leaks that may not only disrupt your vaping experience but also damage your device.
- Look for signs of leakage or blockage around the air holes and mouthpiece.
- Use a Q-tip or similar tool to clear any obstructions, ensuring smooth airflow.
- Regularly unscrew the mouthpiece to check and clean the tank, especially when refilling.
By proactively maintaining your vape, you can avoid the inconvenience of unexpected interruptions and enjoy a hygienic, satisfying vape session.
Remember, maintenance isn’t just about reacting to problems; it’s about preventing them. Always handle your cartridges with care, and when in doubt, consult the manufacturer’s guidelines or seek professional advice. Safety and regular maintenance are key to a hygienic and enjoyable vaping experience.
Refilling with Quality Ingredients
When refilling your vape tank, the quality of ingredients you use is paramount. Always opt for high-quality e-liquids to ensure the best vaping experience and to maintain the longevity of your device. Poor quality e-liquids can lead to unsatisfactory flavors and may even damage your vape pen over time.
To find the best VG/PG ratio for your taste, consider the throat hit and vapor production you prefer. A higher VG ratio typically provides a smoother throat hit and denser vapor, while a higher PG ratio can deliver more pronounced flavors and a stronger throat sensation. Experiment with different ratios to discover what works best for you.
- Maintain vaping quality with proper maintenance.
- Refill vape pens carefully to avoid dry hits and burnt flavors.
- Replace the cartridge when necessary to ensure optimal performance.
- Use a syringe for precision filling, minimizing the risk of spills and overfilling.
- Consider pre-filled cartridges for convenience, especially if you’re new to vaping or prefer a hassle-free experience.
By using quality ingredients and following these guidelines, you can enjoy a consistent and satisfying vaping experience.
Monitoring Vapor Taste Post-Refill
After you’ve refilled your vape tank, it’s crucial to monitor the vapor taste for any signs of a burnt flavor. A burnt taste can indicate that the coil is spent and it’s time for a new cartridge. To ensure the longevity of your vaping experience, consider the following points:
- Regularly check for a consistent vapor production. A sudden drop may suggest that the cartridge is nearing the end of its lifespan.
- Inspect the cartridge for any visible damage or leaks, which can affect both the quality of your vape and the safety of your device.
Remember, the taste of your vapor is a reliable indicator of the overall health of your vape setup. If the flavor is off, it’s time to take action.
Additionally, proper storage of your vape and cartridges is essential. Keep them out of direct sunlight and away from heat to maintain the integrity of the juice. If you find that the vapor taste is still not up to par after these checks, it might be time to consider the quality of the ingredients you’re using. High-quality ingredients can make a significant difference in the taste and performance of your vape.
Cleaning and Reassembling Your Vape Tank
Using an Ultrasonic Cleaner
An ultrasonic cleaner is a fantastic tool for keeping your vape tank in pristine condition. Just fill the cleaner with water, drop in your coils, and turn it on. This device uses high-frequency sound waves to clean away even the most stubborn residues from your coils and tank components. It’s particularly effective at removing the gunk that accumulates after extensive use.
Remember, maintenance is not just about fixing problems; it’s about preventing them. Regular use of an ultrasonic cleaner can help avoid the inconvenience of mid-session interruptions and prolong the life of your vape components.
Here’s a simple step-by-step guide to using your ultrasonic cleaner:
- Fill the cleaner with water, ensuring it covers the items you’re cleaning.
- Place your disassembled tank components and coils into the cleaner.
- Turn on the cleaner and run it for the recommended time, usually around 20 minutes.
- Carefully remove the components and rinse them with distilled water.
- Dry each piece thoroughly before reassembling your tank.
Rinsing with Distilled Water
After using an ultrasonic cleaner, the next step is to thoroughly rinse your vape tank with distilled water. This helps to remove any remaining impurities or cleaning solution residues. Ensure that all parts of the tank are rinsed well, including the smaller components that can often harbor residual flavors or debris.
Remember to handle all parts with care during the rinsing process to avoid damaging delicate components.
Once rinsed, shake off any excess water gently. It’s important to make sure that no water is left inside, as it could dilute your e-liquid or cause damage when you reassemble and start using your vape again. Here’s a quick checklist to ensure you’ve rinsed everything properly:
- Tank body
- Mouthpiece
- Coil head
- Any other detachable parts
Patience is key during this process; allow the parts to air dry completely before reassembling your device.
Drying with a Blow Dryer
Once you’ve rinsed your vape tank with distilled water, it’s crucial to ensure that all components are completely dry before reassembling. Using a blow dryer can expedite the drying process. Set the blow dryer to a cool or low heat setting to avoid any heat damage to your tank’s parts. Keep the dryer at a safe distance to prevent water from being pushed into crevices where it can linger and cause issues.
Gently rotate the components during the drying process to ensure all water droplets are eliminated. This method is not only quick but also effective in preventing any residual moisture that could lead to problems down the line. Remember, patience is key; take your time to thoroughly dry each piece.
After drying, give your tank a final inspection to make sure no water spots or moisture remains. This is the perfect time to check for any damage or wear that might have occurred during cleaning.
Finally, once you’re confident that all parts are dry, you can begin the reassembly of your vape tank. This is an essential step in maintaining the quality and performance of your vaping experience.
Frequently Asked Questions
How do I know if my cartridge is compatible with my device?
Ensure the cartridge is designed for your specific vape model. Check the manufacturer’s specifications or consult with a vape shop to confirm compatibility before attempting to refill.
What is the best way to fill my vape tank with oil?
The most efficient and clean method is using a syringe to fill the tank. This allows for precise control of the amount of oil and helps prevent overfilling and spills.
How long should I wait after refilling my vape tank before using it?
It’s advisable to allow the oil to settle for a few minutes after refilling. This ensures that the wick is fully saturated and prevents dry hits or damage to the coil.
What should I do if I notice a burnt taste after refilling my vape?
A burnt taste usually indicates that the coil is spent or the wick is not properly saturated. Consider replacing the cartridge or ensuring that the wick holes are fully soaked with e-liquid before vaping.
Is it necessary to clean my vape tank, and how should I do it?
Yes, regular cleaning is essential for optimal performance and hygiene. Use an ultrasonic cleaner or rinse the tank with distilled water, then dry it thoroughly with a blow dryer or let it air dry.
Can I refill any vape cartridge with THC or CBD oil?
Not all cartridges are designed to be refillable. Check if your cartridge is refillable and ensure you use the correct type of oil. Always use high-quality ingredients to maintain the integrity of your vaping experience.